
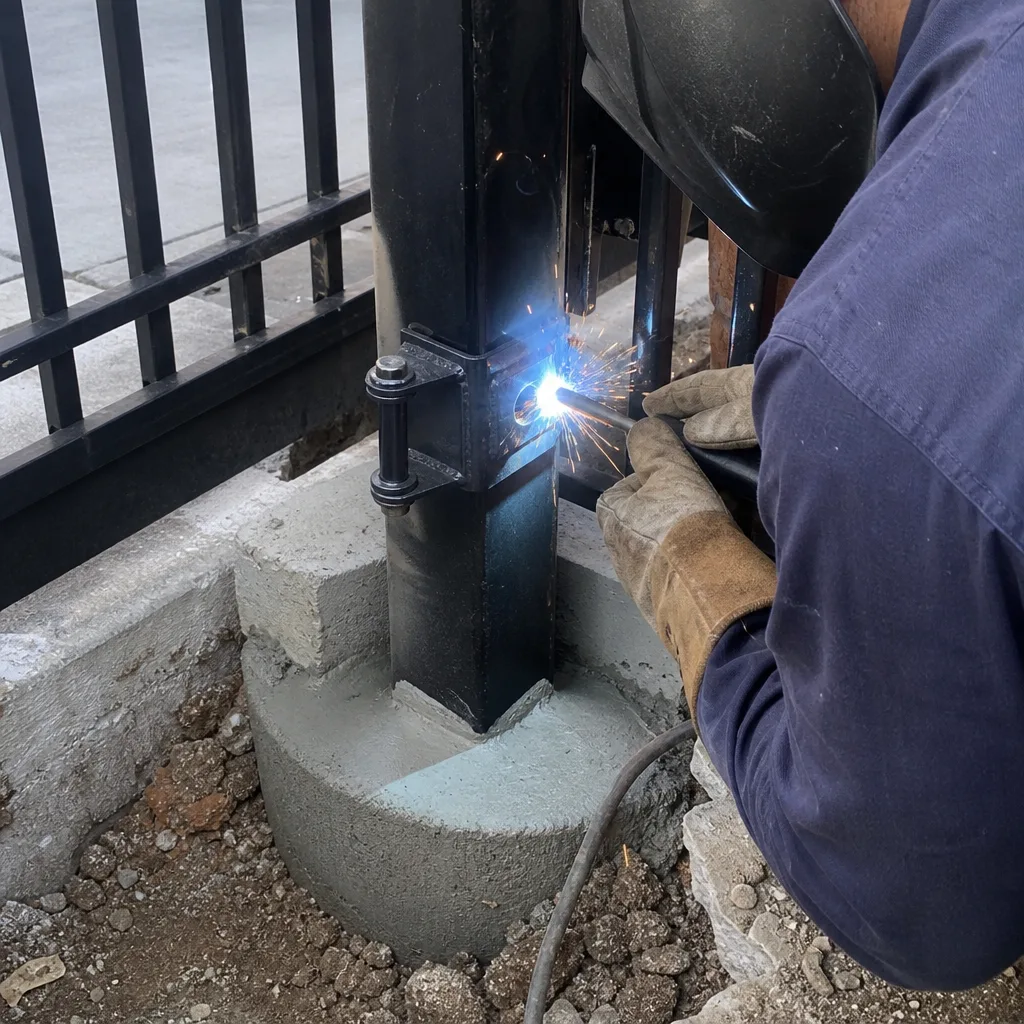
Last updated October 16, 2026
 Wrought iron
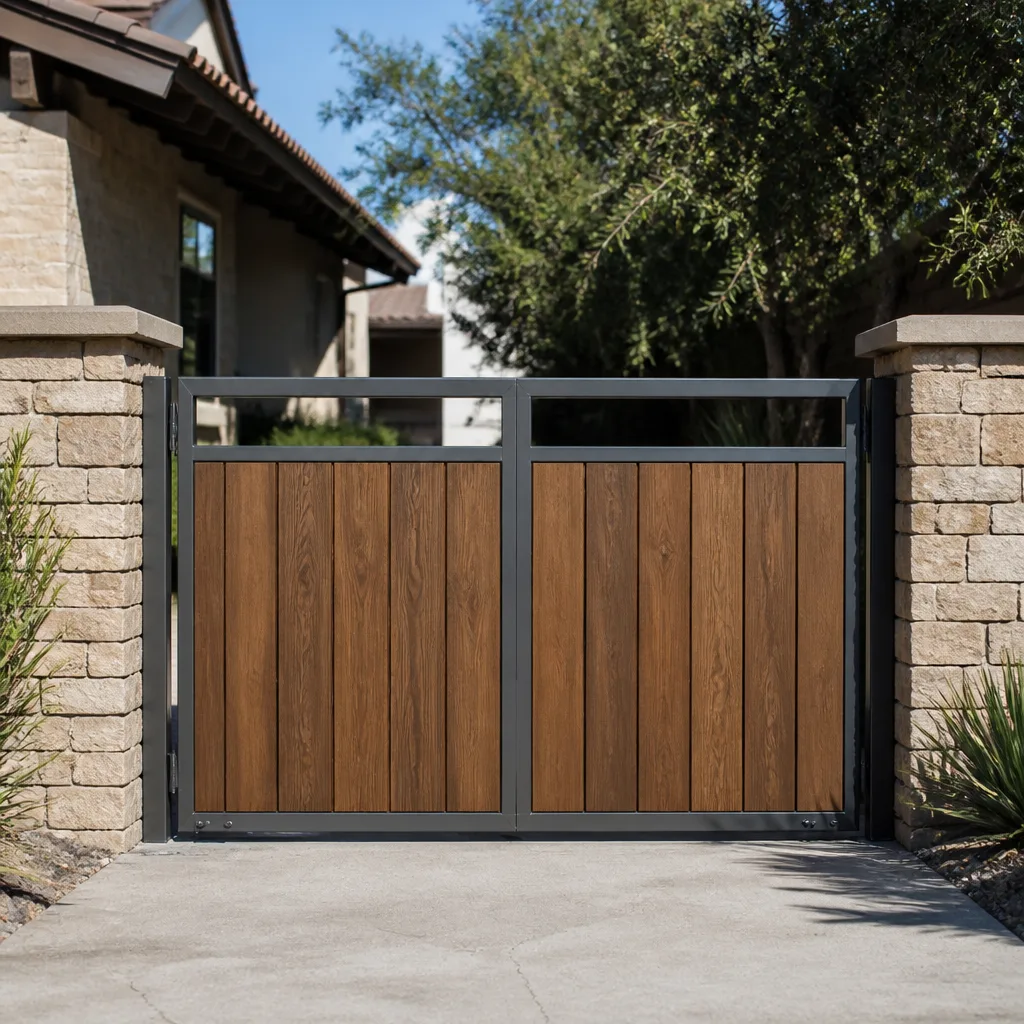 Wood & steel frame
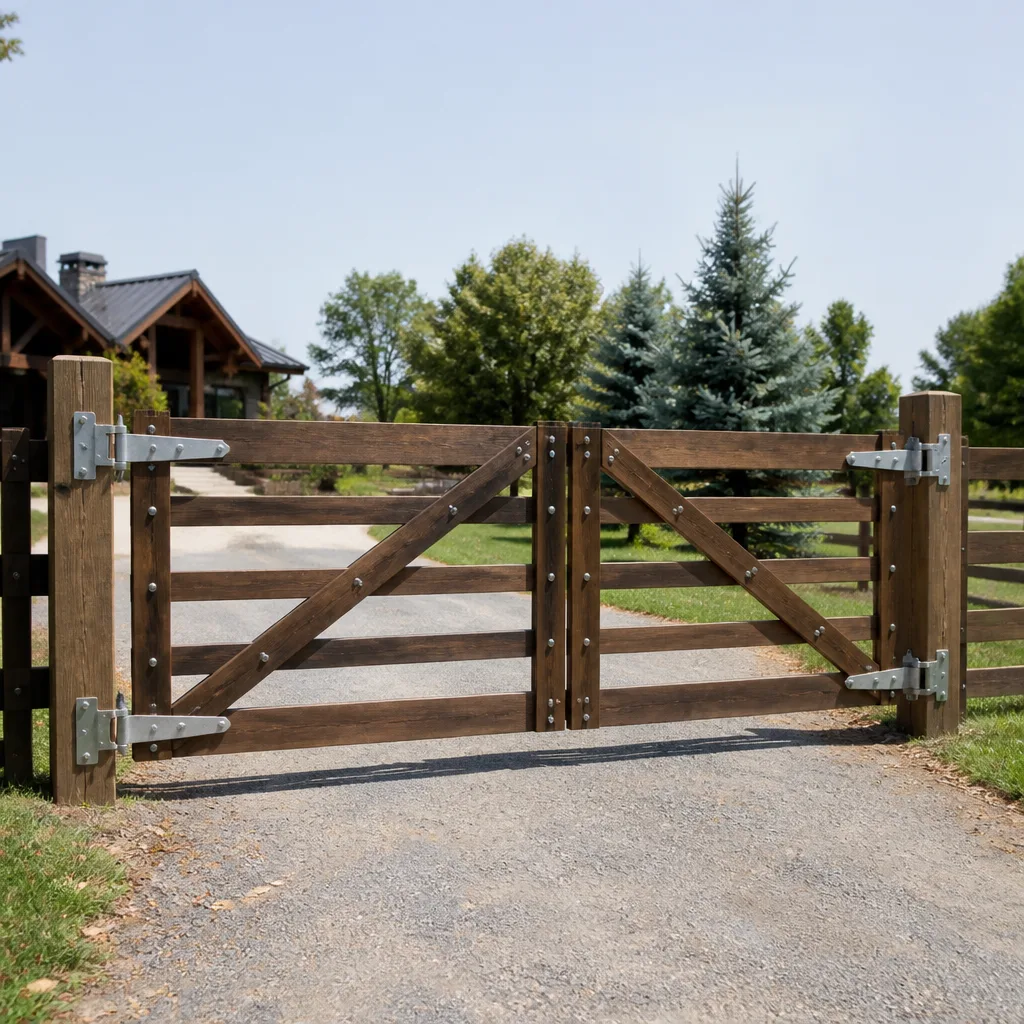 Farm & ranch
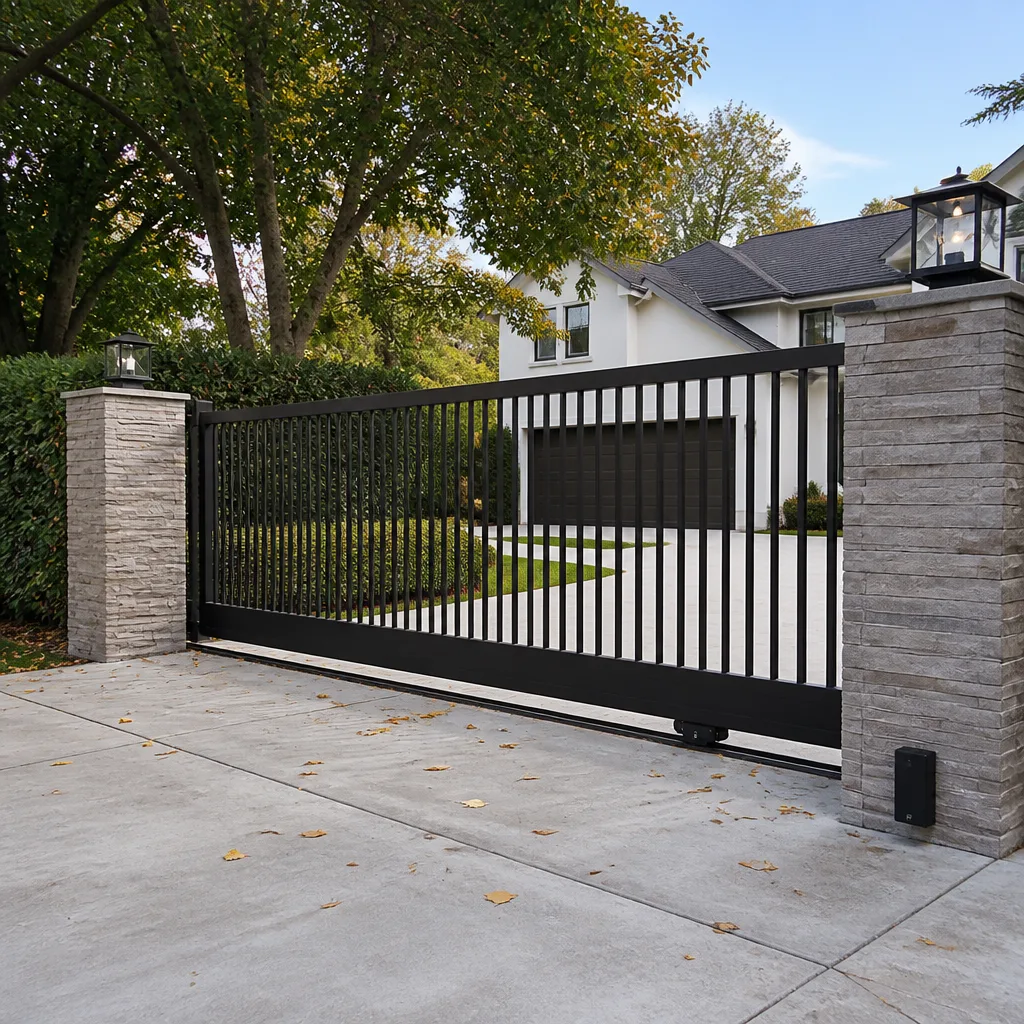 Sliding driveway gates
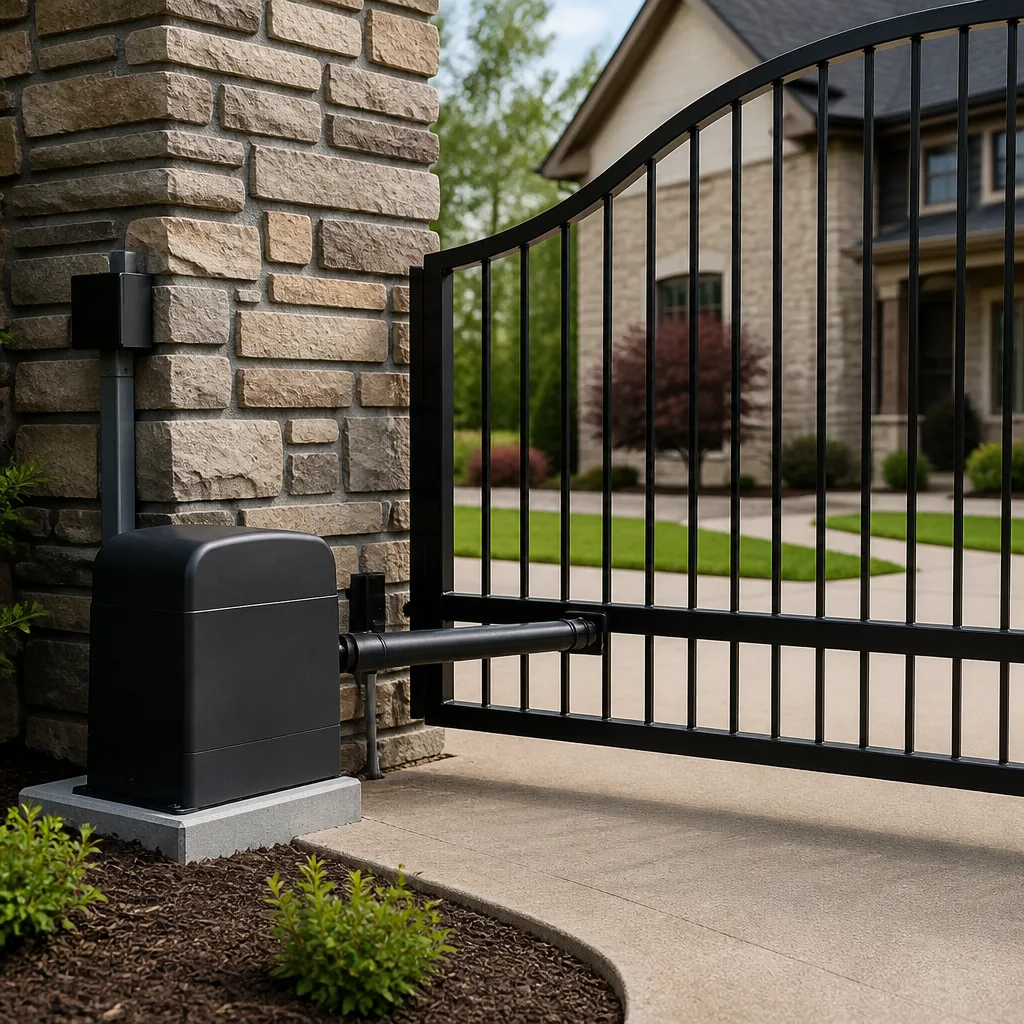 LiftMaster operators
Free on-site gate assessment - hinges, posts, and your LiftMaster or Nice gate operator checked before anything is quoted
The assessment is free and the quote is the invoice.
Get your free estimateGate Repair Maintenance Checklist for Austin Homeowners
Cedar fever isn’t just a human problem. The fine pollen that blankets Austin every January and February works its way into hinge pins and pivot bearings, where it mixes with humidity and road dust to form a grinding paste that accelerates corrosion faster than salt air does in coastal cities. Most gate failures in Austin don’t start with the motor. They start with exactly this slow, quiet wear at the hinge, and by the time the operator strains and burns out, a $40 maintenance task has become a $1,200 repair. This guide walks through the failure sequence we see on Austin gates week after week, and gives you a season-by-season checklist to stop it at step one. For related reading, see our Gate Repair Warning Signs: A Austin Homeowner’s Reference Guide.
Quick Answer
Austin homeowners should inspect and lubricate gate hinges, check post alignment, and test the operator’s safety features every 30 to 60 days, with extra attention during cedar season (January – February) and after heavy rain. The two highest-value maintenance tasks are cleaning and lubricating hinge pins with the right lubricant, and correcting minor post lean before it strains the operator. Most homeowner-level maintenance costs under $50 per year in materials, while the motor burnout it prevents typically runs $900 to $1,200.
Styles & brands we work with
Table of Contents
- Understanding the Austin Gate Failure Sequence
- The Season-by-Season Austin Maintenance Checklist
- The Two-Minute Monthly Self-Inspection
- How to Lubricate a Gate Hinge the Right Way
- Gate Sag: Three Stages and What Each One Means
- Documenting Your Gate’s Condition Over Time
- Common Mistakes to Avoid
- When to Call a Professional
Understanding the Austin Gate Failure Sequence
Every city has a signature failure pattern for gates. In Phoenix it’s UV-brittled plastic components. In Houston it’s rust from constant humidity. Here in Austin, the sequence is specific and predictable, and knowing it is the difference between catching a problem early and paying for a full electric gate repair.
The sequence runs like this:
- Cedar pollen and humidity attack the hinge. Austin’s January and February cedar season produces some of the highest pollen counts of any city in the country. Those microscopic grains work into the hinge pin, where they absorb moisture from our regular humidity swings. The result is a fine abrasive slurry that wears the pin and bushing.
- The hinge loosens, the gate begins to drop. As the pin wears, the gate leaf sags a fraction of an inch. On a 14-foot steel gate that can weigh 400 pounds or more, a quarter inch of sag at the hinge translates to a full inch of drop at the latch end.
- Clay soil movement tilts the post. Austin sits on expansive clay that swells after rain and contracts during dry spells. A gate post set without deep concrete or proper drainage will shift over time, and even a half degree of lean puts constant lateral load on the hinge.
- The operator fights the misalignment. Whether it’s a Ghost Controls swing arm or a DoorKing slide operator, the motor now has to push against friction it wasn’t designed for. Amp draw climbs, thermal overload trips become frequent, and the run cycle stretches out.
- The motor burns out. That’s the $900 to $1,200 repair, and in our experience on Austin gates, it almost always traces back to step one.
We see this sequence play out most often in neighborhoods with mature trees and older gate installations: Westlake Hills, Tarrytown, and the oak-covered sections of Northwest Hills. The gates there have been fighting cedar pollen for ten or fifteen years, and the ones that fail are the ones that never got their hinges cleaned.
At Portcullis Gate Repair Austin, we’ve been following this failure chain since 2008. The good news is that steps one through three are preventable with about fifteen minutes of attention per quarter. This entire guide exists to keep you out of step five.
The Season-by-Season Austin Maintenance Checklist
Generic gate checklists tell you to “lubricate quarterly” as if every season were identical. Austin’s calendar doesn’t work that way. Our cedar bloom, our summer UV, our fall caliche dust, and our winter temperature swings each stress different gate components. Here’s what to do and when to do it, matched to the actual conditions we get in Travis County.
January – February: Cedar Season Flush
- Clean every hinge and pivot point. Dust off the pollen with a dry rag or compressed air first. Do not spray lubricant onto a pollen-caked hinge; you’ll just push the grit deeper into the pin. Clean first, then lube.
- Flush the gate track if you have a slide gate. Cedar pollen and dry winter dust collect in the track channel and on the wheels. A garden hose at low pressure followed by a rag wipe handles most of it. Don’t use a pressure washer on a track that contains bearings.
- Check the operator’s internal vents and cooling fan. Operators like the DoorKing slide units and Mighty Mule swing arms breathe through louvers that clog with pollen. A vacuum with a brush attachment clears them in two minutes.
- Test the safety edges and photo eyes. Pollen film on a photo-eye lens can cause false obstruction triggers or, worse, blind the sensor. A dry microfiber cloth clears them.
This is the highest-risk season for hinge wear in Austin, and it’s also the easiest season to fix it. Fifteen minutes of cleaning during cedar bloom buys you months of smooth operation.
May – June: Pre-Summer UV and Storm Check
- Inspect all plastic and rubber components. Austin’s June sun is already intense, and it degrades the nylon bushings, plastic limit-switch housings, and rubber weather seals on every operator brand, including Elite and Mighty Mule units. Look for chalky discoloration, cracks, or brittleness.
- Check that mounting bolts are still torqued. Our spring thunderstorm season brings wind gusts that work against a closed gate like a sail. Loose bolts on the operator bracket, the hinge plates, or the post anchors get looser fast. A 3/4-inch wrench catches most of these.
- Verify drainage around the post bases. If water pools around a post after a May downpour, that’s a warning sign. The clay expands, the post moves a hair, and the hinge load changes. Regrade or add a stone drainage channel if you see standing water.
September – October: Fall Caliche and Drainage Clear
- Clear caliche and limestone dust from the track, the wheels, and the operator. Austin’s dry fall makes a fine alkaline dust that’s less sticky than cedar pollen but just as abrasive. It settles on the track wheels and grinds them down over a season.
- Blow out the operator cabinet with compressed air. September is the right time to clear dust from the control board and capacitor, since the first cool front usually arrives in October and brings a run-cycle surge as people start using their gates more.
- Lube the chain or belt tension points on slide gates. After a dry Austin summer, belts crack and chains stretch. Check the tension and lubricate per the manufacturer’s spec for your operator, whether that’s a Viking, LiftMaster, or BFT unit.
December: Winter Operator Battery and Cold Check
- Test the battery backup if your operator has one. Austin’s winter freezes, like the one we saw in February 2021, knock out power when you most need the gate to work. Test the battery by disconnecting the operator from AC power and running a full open-close cycle. If it struggles or dies, replace it before freeze season peaks.
- Lubricate the hinges one final time before the coldest stretch. Metal contracts in cold weather, and a dry hinge that worked fine in October will bind in January. A light lube now prevents a frozen-hinge call later.
- Inspect the manual release mechanism. This is the pull-cord or keyed release that lets you open the gate by hand during a power outage. It seizes from disuse, and when you actually need it during a winter storm, you’ll find it frozen. Exercise it once in December.
For a broader picture of the repair work these seasonal steps prevent, see our Gate Repair in Austin page, which covers the most common failure types we see across the metro.
The Two-Minute Monthly Self-Inspection
You don’t need tools, a ladder, or any technical knowledge to spot the early signs of gate trouble. This is a visual and tactile check you can do while walking to the mailbox or pulling out of the driveway. It catches the same problems a technician would find, just earlier.
Here’s the two-minute routine:
- Watch a full open-close cycle. Stand to the side, not in the path. Does the gate move at a smooth, even speed? Does it stutter, jerk, or hesitate mid-travel? Any change from last month’s behavior is a signal.
- Listen for three specific sounds. A squeak means a dry hinge or wheel. A grinding sound means grit in a bearing or track. A rhythmic thump or clunk means something is physically loose or the gate is hitting an obstruction at a specific point in its travel.
- Look at the gap between the gate leaves when closed. If the gap at the top is wider than the gap at the bottom, or the latch no longer lines up with the striker plate, the gate is sagging. That’s stage one or stage two sag, and it’s still cheap to fix.
- Touch the hinge area with your hand. If the hinges leave rust-colored dust on your fingers, or you can feel gritty resistance when you press against the gate near the hinge, corrosion has started.
- Check the operator for red lights or error codes. Most modern operators, from Ghost Controls to DoorKing, have a diagnostic light or small display. A blinking red light or a numeric code is the operator’s way of telling you something is wrong before it fails completely.
Three findings on this inspection should trigger a call to a professional the same day, not next week:
- The gate reverses on its own mid-cycle without any visible obstruction. That’s usually the safety edge or a limit-switch fault, and if the safety system is compromised, someone gets hurt.
- You hear metal-on-metal grinding that’s noticeably louder than last month. That means a bearing has failed and the gate is wearing the axle or hinge pin down, making the eventual repair more expensive every week.
- The gate visibly drops when it opens, or the latch no longer catches at all. That’s stage two sag moving into stage three, and the operator is now drinking damage with every cycle.
How to Lubricate a Gate Hinge the Right Way
This is the single most misunderstood maintenance task in the entire gate trade, and the wrong approach actively destroys the hinge. We’re going to be specific about what to use and what never to use, because this one task either prevents the Austin failure sequence or accelerates it.
The right way:
- Clean the hinge first. Use a dry rag, a stiff nylon brush, or compressed air to remove pollen, dust, and old lubricant. The hinge pin and the area where the pin enters the barrel must be visibly clean before you add anything.
- Use a dry-film lubricant on the pin. A PTFE-based dry lube or a graphite lubricant is the right choice for Austin gates. It coats the pin and reduces friction without leaving a wet film. Wet lubricants are the problem we’ll get to in a moment.
- Apply sparingly to the top of the pin and work the gate. A short spray at the top of each hinge pin, then manually move the gate through a partial cycle if you can, or run the operator. The movement distributes the lube into the bushing.
- Wipe away any excess. If lubricant drips down the hinge plate or pools at the bottom of the pin, you used too much and you’ve created a dust magnet. Wipe it clean.
The wrong way, and why it’s wrong:
- WD-40 on the hinge. WD-40 is a water-displacing solvent, not a durable gate lubricant. It evaporates in days and leaves the pin with less protection than it had before. Worse, it thins and washes out whatever lubricant was already in the bushing.
- Heavy grease or lithium grease smeared on the hinge. Grease is the worst thing you can put on an Austin gate hinge. It captures cedar pollen, caliche dust, and road grit, forming an abrasive paste inside the barrel. We’ve pulled hinge pins out of gates that had been “regularly lubricated” with grease, and the pins looked like they’d been machined down with sandpaper.
- Motor oil or 3-in-1 oil. These wet oils run into places they shouldn’t, stain the gate and the concrete, and attract every speck of Austin dust within a hundred feet. They also drip onto the operator arm or the track, causing secondary problems.
The product that consistently works on Austin gates is a dry-film PTFE spray, available at any hardware store for around $8 to $12 a can. One can lasts a full year of seasonal lubrication on two or three gates. If you’d rather not keep a can on the shelf, this is exactly the kind of maintenance our techs handle on a scheduled visit, and it costs less than a dinner in Austin to have it done right.
Gate Sag: Three Stages and What Each One Means
“Gate sag” is a term gate technicians use constantly, but homeowners rarely know what it actually looks like until the gate is dragging on the driveway. Sag progresses in three identifiable stages, and knowing which stage your gate is in tells you whether you’re still in homeowner territory or already into technician country.
Stage One: The Latch Tells You First
The first visible sign of sag is almost never the gate’s appearance. It’s the latch. If your gate latch suddenly requires a little more lift, or you have to pull the gate up slightly to get the latch to engage, the gate has dropped between an eighth and a quarter inch. Visually, the gate still looks level. A carpenter’s level on the top rail might show one or two degrees of change. At this stage, the fix is usually as simple as lubricating the hinges properly and checking that the hinge bolts are tight. This is a homeowner task, fifteen minutes with a wrench and a can of dry lube.
Stage Two: The Visible Gap
In stage two, the sag is visible to anyone who looks. The gap between the two gate leaves is wider at the top than at the bottom, or the latch side of the gate sits noticeably lower than the hinge side. You can measure the drop by holding a level against the top rail: more than three degrees means the hinge bushings are worn and the pins are no longer holding the gate in its true plane. At this stage, the hinges typically need new bushings or, on welded gates, the hinge barrels need to be cut off and new ones welded on. It’s no longer a homeowner repair. The cost in Austin for stage-two hinge work runs $150 to $400, depending on the gate’s weight and whether the post is also involved.
Stage Three: The Post Moves Too
Stage three is when the sag has transferred load to the post and the post has begun to lean or rotate. You’ll see cracks in the concrete around the post base, a visible gap between the post and the surrounding walkway, or a post that’s no longer plumb when checked with a level. The gate may drag on the ground at the latch end. At stage three, the repair usually requires removing the gate, resetting or replacing the post, possibly pouring a new footing with proper depth for Austin’s clay soil, and re-hanging the gate. That’s a $600 to $1,800 job depending on post size, access, and whether new concrete is required. It’s also the stage where the operator is almost certainly taking damage, which stacks a motor replacement on top of the structural repair.
The lesson here is straightforward: fix sag at stage one before Austin’s clay and cedar pollen push it into stage three. If you’re not sure what stage your gate is in, a trained eye can tell in under a minute. Our techs do this assessment daily on gates across Austin, and we’d rather look at a stage-one gate for free than replace a stage-three motor for $1,200. Learn about Gate Repair Permits, Codes & Inspections in TX: What You Need to Know before starting major work.
Documenting Your Gate’s Condition Over Time
HOA disputes, insurance claims, and warranty work all share one thing in common: the homeowner who has documentation wins. Gate condition is rarely something people think to record until they need to prove what the gate looked like before the storm damaged it, or before the HOA sent their letter about “visible deterioration.”
Here’s how to build a simple, defensible record without turning your phone into a filing cabinet:
- Quarterly photos from three angles. Take a photo of the hinge side, a photo of the latch side, and a straight-on photo of the closed gate. Do this on the same schedule as your seasonal maintenance. Good light, no filters, no cropping. These photos establish a baseline of what your gate looked like at a given point in time.
- One photo of the operator. Open the operator cover once a quarter and photograph the control board area. If a power surge damages the board, or if a technician’s visit changes something, you have a before-and-after record.
- Keep receipts for every part and every service visit. A gate that was lubricated with the correct product on a documented schedule is in a much stronger position if an insurance adjuster questions whether the hinge failure was pre-existing wear or a covered event. We write the date, the work performed, and the parts used on every invoice for exactly this reason.
- Note weather events and their dates. April hail storms, the February freeze, a wind event that snapped tree limbs onto the gate area. A short note in your phone’s notes app, dated, alongside that quarter’s photos, ties the gate’s condition to external events.
This documentation is also exactly what our technicians look at when we’re diagnosing a failure. A series of photos showing the gate’s travel position over six months often reveals a progressive sag that a single visit can’t see. If you’re considering a new gate installation in Austin, this historical record also helps the estimator spec the right hinges and post footings for your specific site, not a generic recommendation.
Common Mistakes to Avoid
- Lubricating a dirty hinge. Spraying lube onto a hinge that’s crusted with cedar pollen and caliche dust pushes the grit inside and turns the hinge into a lapidary tumbler. Clean first, always.
- Using grease because “it lasts longer.” Grease on an outdoor Austin hinge collects pollen and forms a grinding paste. The hinge fails faster than if you’d done nothing. Dry-film lubricant is the only kind we recommend for the pins and bushings.
- Ignoring a noisy gate because “it still works.” The squeak you’ve heard for six months is metal wearing against metal. The gate still works right up until the day it doesn’t, and by then the hinge repair that would have cost $150 is a full hinge and operator replacement approaching $1,200.
- Pressure washing the gate and operator. Austin homeowners love a good pressure wash, but high-pressure water forces its way past seals, into the operator cabinet, and into greased bearings. It also strips dry-film lubricants. Use a garden hose and rag, never a pressure washer, on any moving gate component.
- Letting the track fill with caliche and leaves. Slide gates are common in the hill country sections of Austin, and their tracks act as catch basins for everything the wind pushes across the driveway. A track clogged with caliche granules and oak leaves stresses the wheels, the chain, and the operator, and the gate eventually skips or binds. Clear the track monthly during dry season.
- Assuming the installer set the post correctly. Austin’s expansive clay is unforgiving. Some gate installations from decades ago used shallow footings that have since shifted. If your gate has sagged more than once after repair, the post is the real problem, not the hinge. Verify post plumb and footing condition before paying for hinge work.
- Waiting to fix the safety edge because “the gate works fine.” A malfunctioning safety edge means the gate won’t stop when it hits a person, a pet, or a car. That’s not a maintenance inconvenience; that’s a liability. Photo eyes and safety edges should be tested on the monthly inspection. No exceptions.
When to Call a Professional
Most of this checklist is designed to keep you out of our phone queue, and that’s exactly how we want it. But there are conditions where a homeowner should stop and call, not because the task is hard, but because the stakes are high or the diagnosis requires experience. If the gate reverses unpredictably mid-cycle, call. If the operator trips its breaker repeatedly, call. If the post is visibly leaning or the gate is sagging into stage two or stage three, call. If you hear grinding that’s getting louder month over month, call. And if the gate has come off its track entirely, don’t run the operator at all; kill power at the breaker and call. These are the situations where running the gate one more time turns a $200 repair into a $1,000 one. Portcullis Gate Repair Austin offers free estimates in Austin, and we answer the phone around the clock. If you’re not sure whether what you’re seeing is stage one or stage three, call us at (254) 280-0629 and run through what you’re seeing. We’ll tell you straight whether it’s a homeowner task or a technician job.
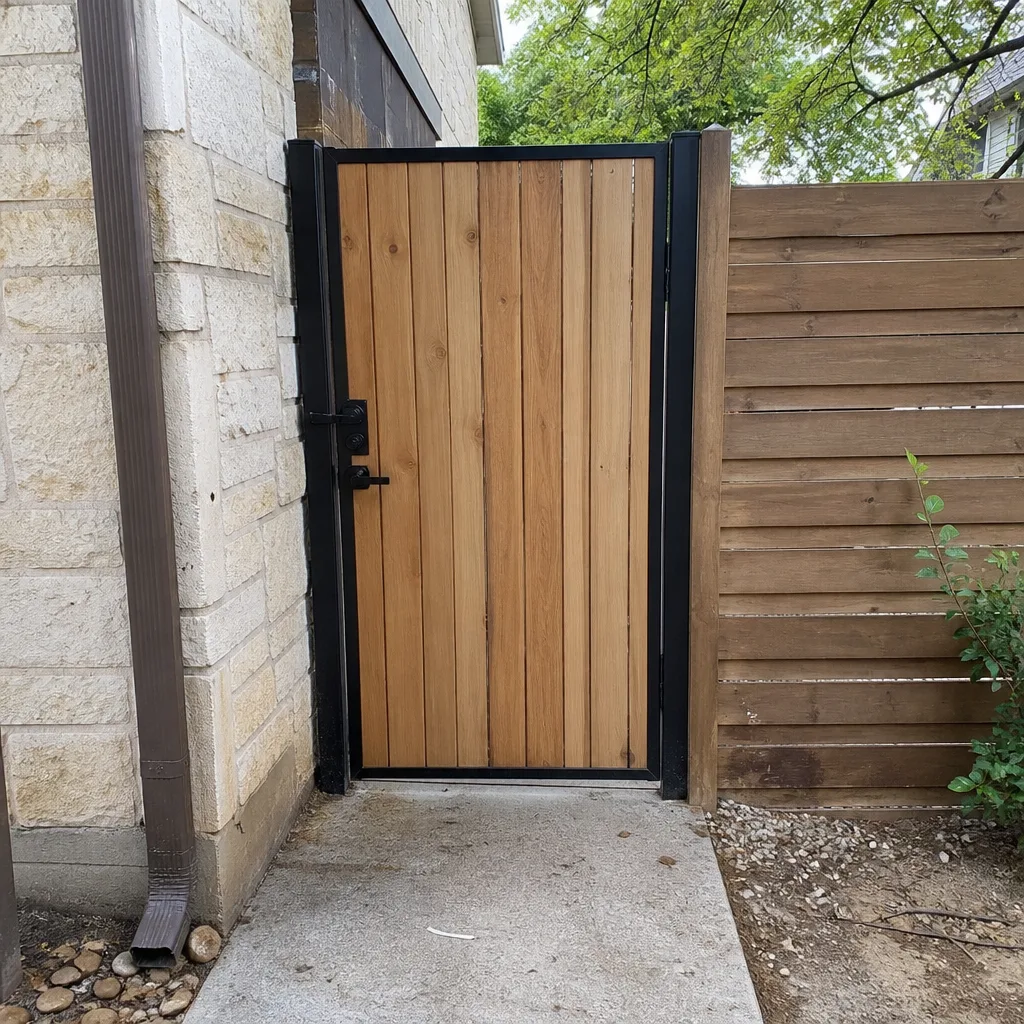
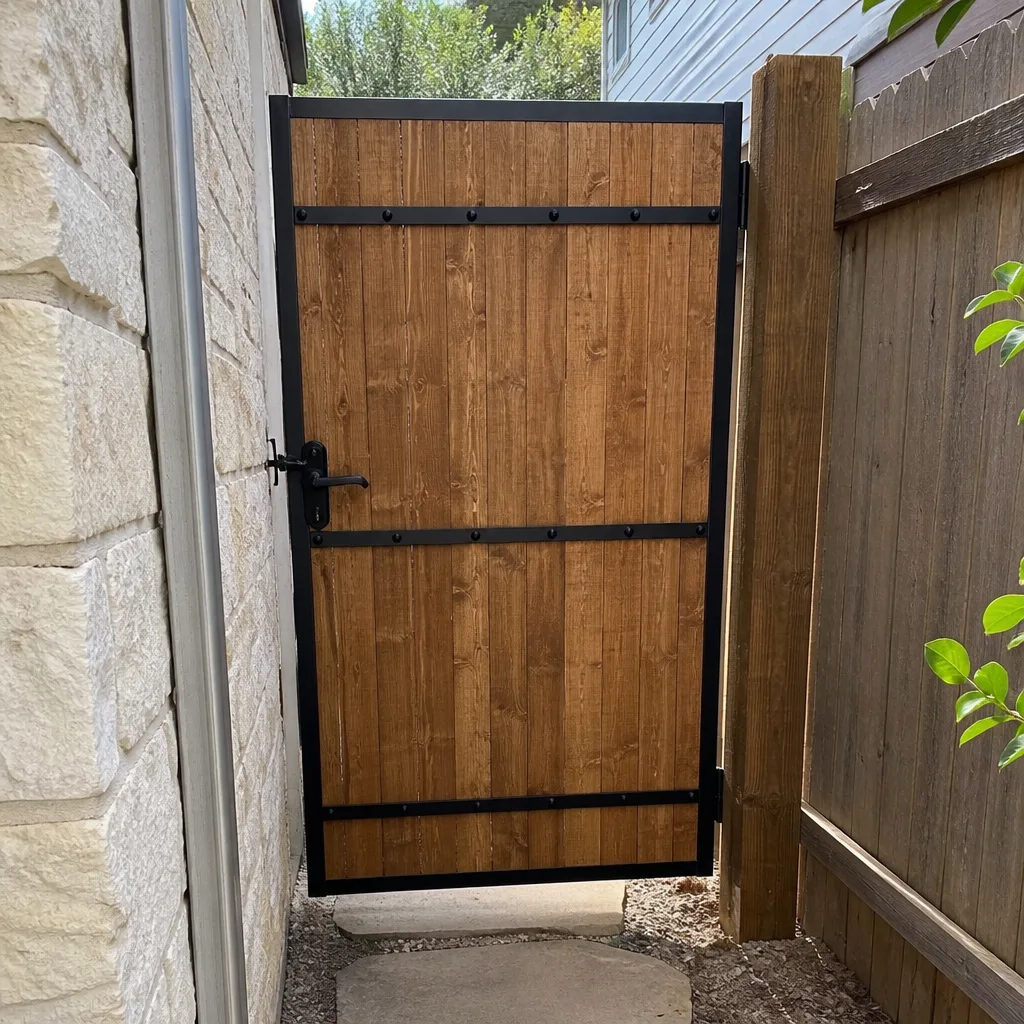
See the difference
 Before
 After
After Before
 After
After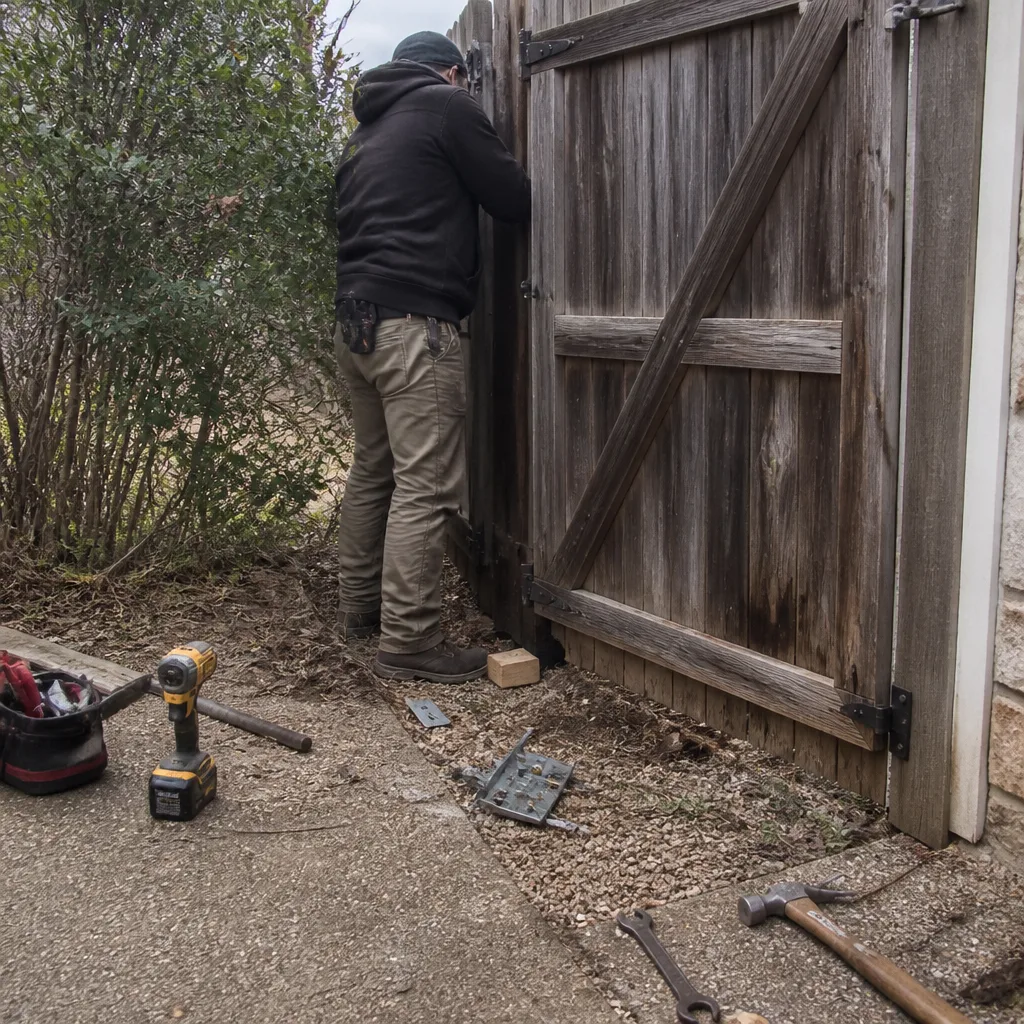 Before
 After
AfterFrequently Asked Questions
Every 30 to 60 days for a five-minute visual inspection and hinge check, plus four seasonal maintenance sessions per year tied to Austin’s actual calendar: a cedar-season flush in January or February, a UV and drainage check in May or June, a caliche dust clear in September, and a battery and freeze check in December. This cadence matches the specific environmental stressors we get here and prevents most of the failures we see.
Most hinge rebuilds and minor repairs in Austin run $150 to $400, while operator and motor replacements typically fall between $900 and $1,200 depending on the brand, the gate’s weight, and whether the control board is involved. Post resets are the biggest variable, from $600 to $1,800 based on site conditions and footing requirements. Every job with us gets a written price before work starts, so the number on the estimate is the number on the invoice. Call (254) 280-0629 for an exact figure after an on-site evaluation.
Stage-one sag, where the latch is just starting to bind and the gate looks level, is often resolved by cleaning and lubricating the hinges properly and snugging the hinge bolts. Stage-two and stage-three sag involve worn bushings, bent pins, or leaning posts, and those require a technician with the right equipment to lift the gate, cut or press out the old components, and re-hang it true. Guessing at stage two usually makes stage three happen faster.
Yes. Cedar pollen is fine enough to work into the tight clearance between a hinge pin and its bushing, where it absorbs moisture from Austin’s humidity and creates an abrasive paste. Left in place through spring, it wears the pin and bushing measurably within a single season. Gates in neighborhoods with heavy cedar exposure need their hinges cleaned during and after the bloom, not just lubricated.
A dry-film PTFE spray or a graphite lubricant is the correct choice. These products reduce friction at the pin and bushing without leaving a wet film, which means they don’t trap the pollen and caliche dust that make Austin’s environment so hard on gates. Avoid WD-40, motor oil, and especially lithium grease, which build an abrasive paste and accelerate wear.
Watch for three specific warnings: an open-close cycle that takes noticeably longer than it did months ago, repeated thermal overload trips where the operator stops working and resets after a cooldown, and any new grinding, buzzing, or chattering sound from the motor housing. Any of these signals, on any operator brand including Ghost Controls, DoorKing, Elite, or Mighty Mule, means the motor is working harder than it should and its life is being spent. Address it early and the repair is small; wait for silence and it’s a replacement.
The Bottom Line
Austin’s specific environment, cedar pollen in winter, clay movement in spring, UV in summer, caliche dust in fall, creates a predictable failure sequence for gates: hinge corrosion, post lean, operator strain, motor burnout. That sequence is stoppable at step one with about fifteen minutes of attention per month and four seasonal maintenance sessions per year. The tasks are simple: clean before lubricating, use dry-film lubricant, check post plumb and drainage, test operator safeties and battery backup, and document everything. Do that consistently and the $40 maintenance year keeps a $1,200 motor from ever becoming necessary. If you reach a point where you’d rather have a trained eye handle it, we’re easy to reach in Austin, and the estimate is free. Browse more guides & resources for year-round gate care.
Written by Dean Prescott, Owner at Portcullis Gate Repair Austin, serving Austin since 2008.