
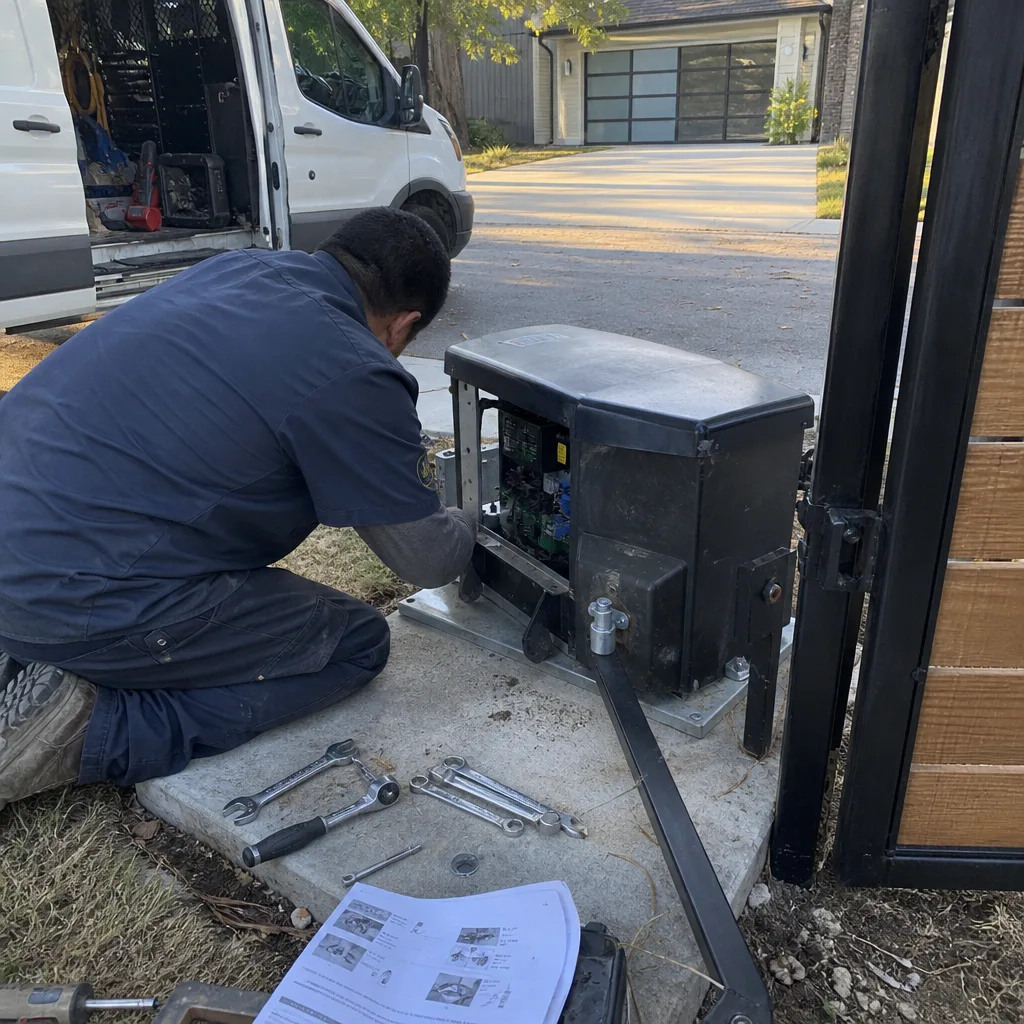
Last updated October 16, 2026
 Wrought iron
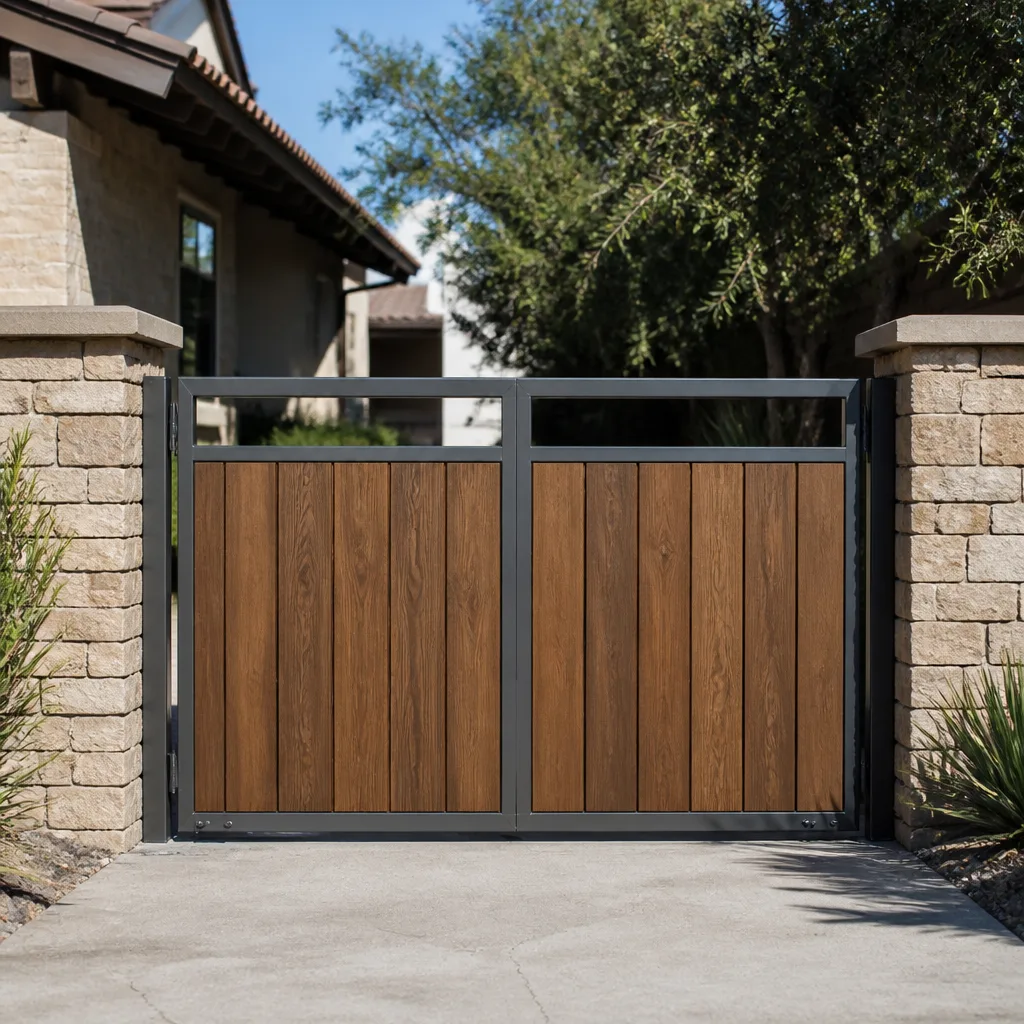 Wood & steel frame
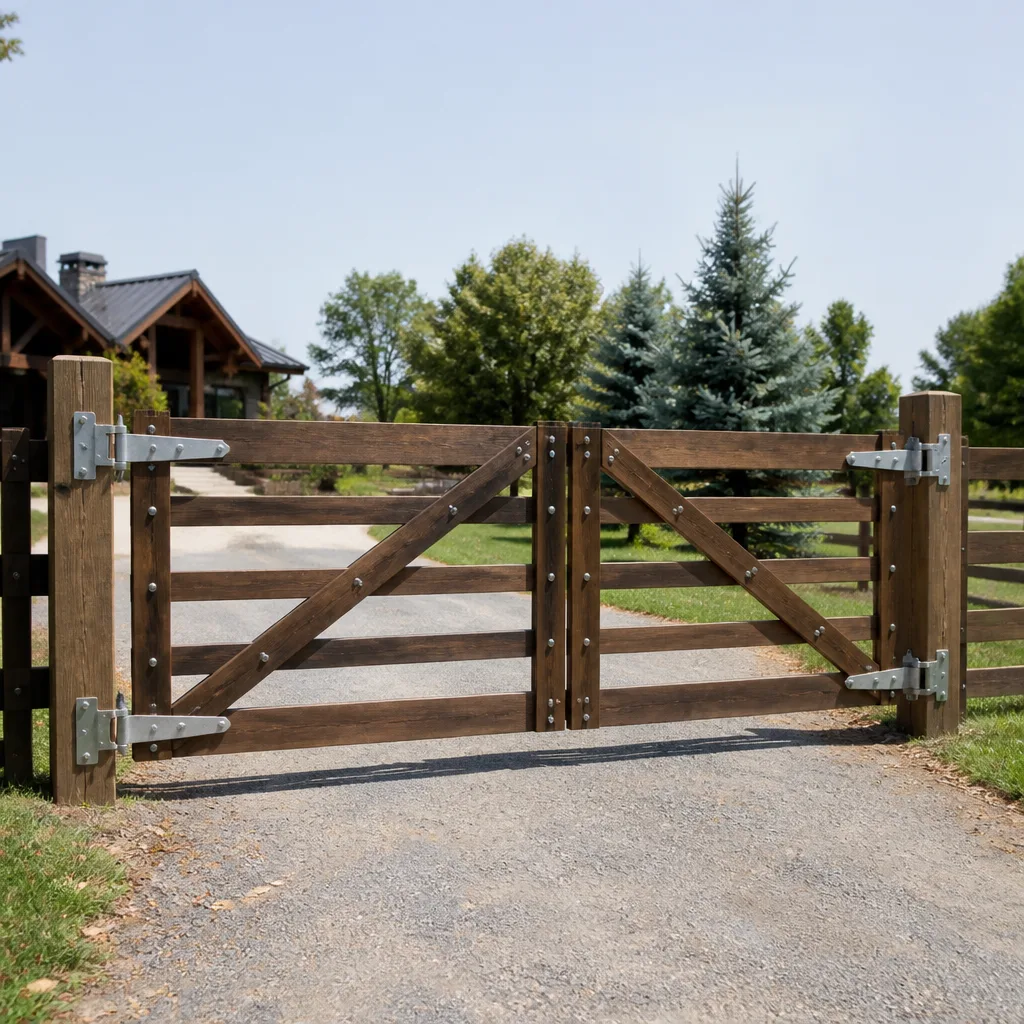 Farm & ranch
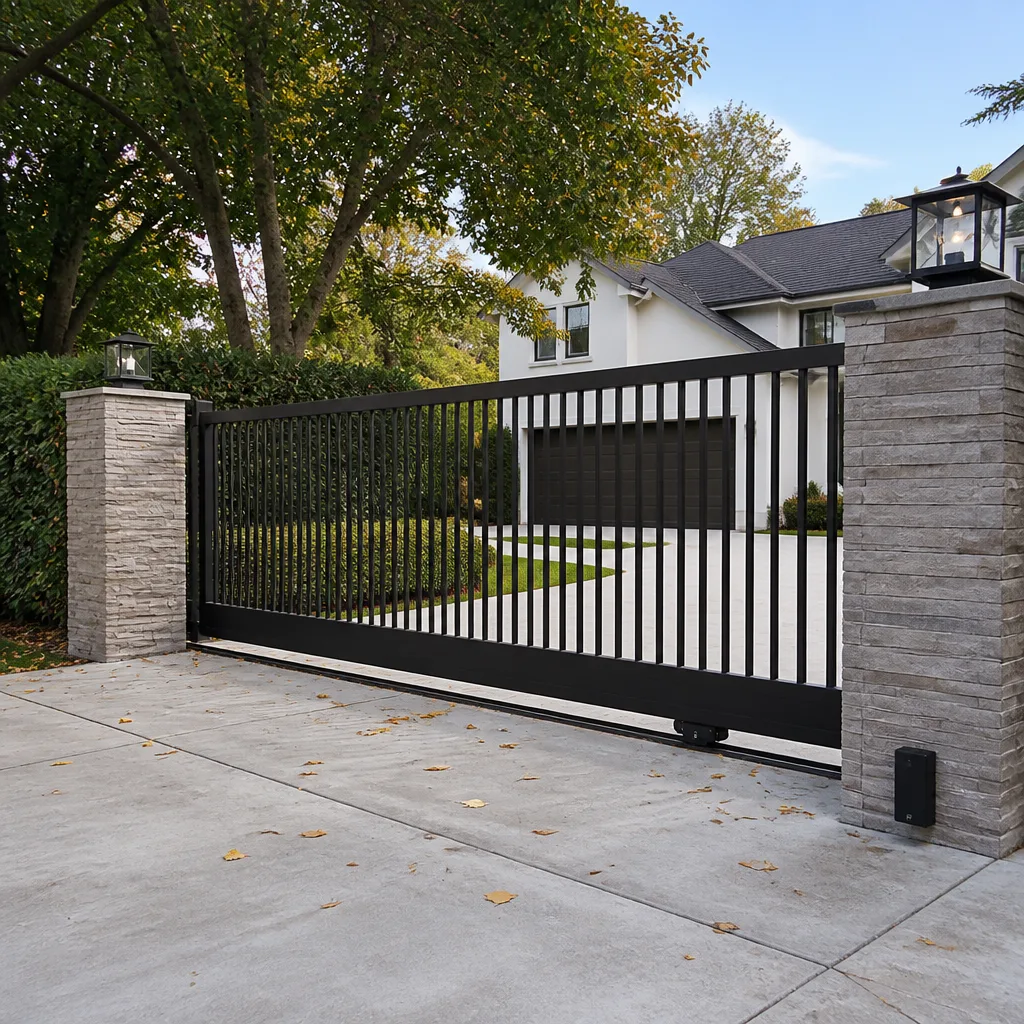 Sliding driveway gates
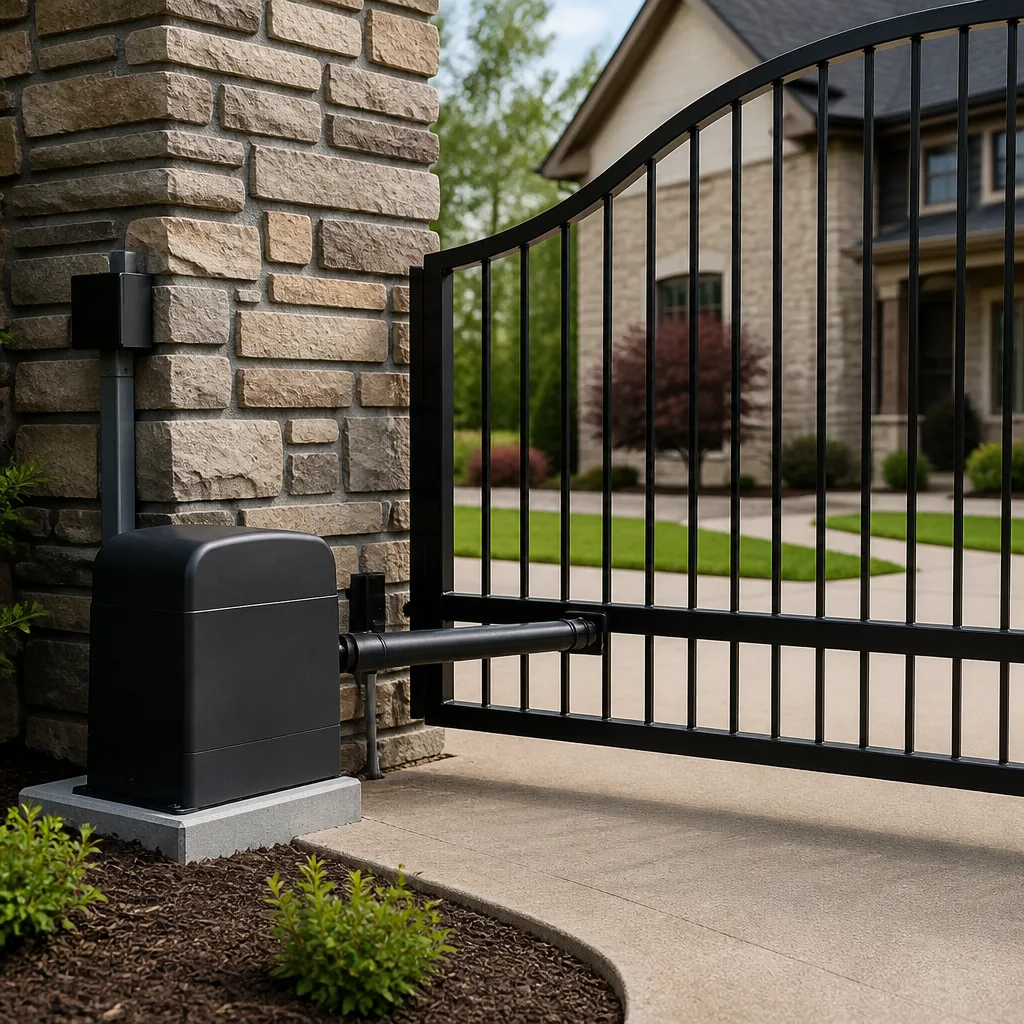 LiftMaster operators
Free on-site gate assessment - hinges, posts, and your LiftMaster or Nice gate operator checked before anything is quoted
The assessment is free and the quote is the invoice.
Get your free estimateGate Repair Warning Signs: A Austin Homeowner’s Reference Guide
A gate that “just takes a hard push” to close has already told you the hinge is bearing load it wasn’t designed to carry. By the time most Austin homeowners call us, the hinge plate has pulled from the post and the wood or masonry behind it has started to fail. The repair that would have cost $150 six months ago is now a post replacement running north of $900. This guide-along with our Seasonal Gate Repair Care for Austin: Year-Round Homeowner’s Guide-teaches you to read the early, subtle signs specific to our soil and climate, so you can catch a failing hinge, a drifting limit switch, or a tired operator before the cheap fix window closes.
Quick Answer
The most common gate repair warning signs in Austin are a gate that grinds or hesitates when opening, a visible lean or uneven gap at the latch side, a post that has shifted out of plumb, a gate that works manually but not automatically, and rust that flakes rather than just discolors. Any one of these means the gate is already wearing faster than it should. Catching them early typically means a hinge or bracket replacement in the $100 to $300 range; ignoring them often leads to post replacement or full operator work at $600 and up.
Styles & brands we work with
Table of Contents
- Post Lean vs. Normal Settling: The $6 Level Test
- Three Sounds Your Gate Makes (and What Each One Means)
- Works Fine Manually, Won’t Automate: Why It’s Almost Always the Operator
- How Austin’s Clay Soil Shows Up as a Gate Warning Sign
- Cosmetic Rust vs. Structural Rust: The Magnet and Screwdriver Test
- What Uneven Gap Patterns at the Top and Bottom of Your Gate Mean
- Hinge Wear and Bearing Check: A 10-Minute Sunday Inspection
- When a Gate Is Beyond Repair (and Needs Replacement Instead)
Post Lean vs. Normal Settling: The $6 Level Test
Every gate post settles a little in the first year or two after installation, especially in Austin where clay soil expands and contracts with every rain-dry cycle. That’s normal. What’s not normal is a post that has moved out of plumb by more than a degree or two, because a leaning post transfers every pound of gate weight onto the hinge side, and the hinge plates start pulling against their fasteners with each swing.
Here’s the test we use on service calls, and you can do it with a $6 torpedo level from any hardware store in Austin:
- Hold the level vertically against the side of the post, first on the gate side and then on the two adjacent sides. Note which direction the bubble favors.
- If the bubble is outside the center lines by more than one mark on the hinge side of a 200-pound gate, the post has moved enough to matter.
- Look at the gap between the gate and the post at the top hinge versus the bottom hinge. A consistent gap means the post and gate are moving together, which is normal settling. A gap that’s wider at the top or bottom means the post alone has leaned.
- Push the gate open about two feet and let it go. If it wants to drift closed or swing open on its own, that’s the lean doing the work, not the operator.
The difference between settling and lean matters for one simple reason: a settled post is still load-bearing. A leaned post is now a lever working against the fasteners. In our experience, when a homeowner in Austin notices the gate scraping or catching at the latch side, the post has usually been out of plumb for months. Re-plumbing a post is not a beginner job. It means excavating around the concrete footing, pulling the post back to true with a come-along, re-packing the base, and often re-pouring the collar. That’s a $400 to $800 repair on a standard steel post in this area, and it’s worth doing before the gate weight bends the hinge barrel itself.
Three Sounds Your Gate Makes (and What Each One Means)
A gate is a mechanical system, and mechanical systems complain out loud before they fail. Here are the three sounds we hear described most often on calls across Austin, and what each one actually indicates.
Grinding: Grinding is almost always hinge or roller wear. The hinge barrel on a steel gate contains either a ball bearing ring or a bronze bushing, and when that surface gets pitted or rusted, the gate’s entire weight rides on metal against metal. On a sliding gate, the same grinding comes from the V-track rollers carrying the gate, and you’ll hear it as a gritty rolling sound. Left alone, a grinding hinge will ovate the barrel and then snap the hinge pin. That’s not a repair anymore. That’s a weld job or a full hinge replacement.
Clicking: A click at the top or bottom of the travel is the limit switch telling the operator where to stop. On LiftMaster, FAAC, and BFT systems, the limit is usually set mechanically or via a cam inside the operator. When the click happens a few inches early, the gate stops short and never fully seats against the latch. When it happens late, the gate over-travels and each cycle hammers the physical stop, which loosens the post anchor over time. Clicking sounds that move around from cycle to cycle usually point to a loose or drifting limit, not a failing one, and that’s a simple adjustment.
Grinding then stopping: This is the one that makes people call us the same day. On an electric gate, if the motor runs and the gate starts to move, then grinds and stops, the operator’s clutch is slipping. The clutch is designed to release when the gate meets physical resistance so the motor doesn’t burn itself out. On a chain-driven slide gate that has jumped a tooth, or a swing gate whose hinge has started to drag, the operator will grind and give up rather than force it. The key point: that sound means the operator is now working against a mechanical problem. Fix the binding first or you’ll be replacing the operator next.
We’ve had Austin homeowners describe these sounds over the phone, and we can usually tell them whether they need our Gate Repair services for a hinge or an operator adjustment before the truck ever rolls. If you’re hearing any of the three, call us at (254) 280-0629 and describe it. The fix is usually less than $300 if it’s caught in the grinding or clicking phase, and usually closer to $700 if it’s already in the grinding-then-stopping phase and the operator has been running hot.
Works Fine Manually, Won’t Automate: Why It’s Almost Always the Operator
This one confuses people. A gate that swings freely and latches cleanly by hand, but refuses to open automatically, points to the operator or the operator’s controls almost every time. The gate structure is fine. The hinge load is fine. The thing that moves the gate is the problem.
Here’s the logic that matters for your wallet: if the gate moves well by hand and the automatic system won’t move it, the operator is either not receiving a signal or not producing torque. The usual culprits are a failed control board, a burned capacitor, a dead remote receiver, or a disconnected safety loop. On LiftMaster and Linear systems we service in Austin, a capacitor failure is probably the most common single cause of a gate that hums but doesn’t move, and it’s a sub-$200 repair. A failed control board on a FAAC or BFT operator is more commonly $350 to $600 in parts and labor.
This matters because we’ve seen homeowners in Austin pay a general handyman to “fix” the hinges when the hinges were never the problem. The handyman lubes the pivots, charges $150, and the gate still won’t open with the remote. The rule: test the gate manually first. If it moves smoothly by hand, the structure is fine and the problem is electrical or electro-mechanical. That’s a different service call entirely, and it’s why our Electric Gate Repair in Austin work starts with a diagnostic pass on the operator, not the hinges.
The reverse is also true, by the way. If the gate opens automatically but fights you when you push it manually, the operator is working overtime against a physical binding problem, and that binding is usually a hinge or roller that’s already too far gone to free up with lube. We know the difference because we test both ways before quoting anything.
How Austin’s Clay Soil Shows Up as a Gate Warning Sign
Central Texas sits on expansive clay, and that clay moves. It swells when it rains and shrinks when it dries, and over a season of wet and dry cycles, the ground under a gate post moves by a quarter inch or more. You won’t feel it happen. You’ll see it in the gate’s geometry.
The tell that’s specific to our soil is seasonal gap shift. If the latch side of your gate gets tighter in the winter and looser in the summer, or the gate scrapes after heavy rain and frees up after a dry week, the post footings are riding the clay. A quarter inch of vertical movement at the footing translates to a lot of lateral movement at the top of a six-foot post, because the post acts as a lever. The hinge side might look fine while the latch side suddenly doesn’t line up anymore.
What we see on almost every Austin street, from Tarrytown to Mueller to Circle C, is the same pattern: a gate post set in a shallow concrete collar with no rebar, no gravel base, and no drainage path. The clay pushes the collar up and sideways over time, and the gate starts to read as “out of square.” The fix usually requires digging out the old collar, setting the post on a gravel base with proper drainage, and re-pouring the concrete. On a swing gate that’s a $600 to $900 job in this market, and it’s the difference between a gate that lasts another twenty years and one that needs a second re-alignment every spring.
The practical takeaway: if your gate’s alignment changes with the seasons, document it. Take a photo of the latch-side gap in January and July. That record tells a gate technician what’s moving, how far, and how fast, and it’s the single most useful diagnostic tool on a clay-soil gate problem.
Cosmetic Rust vs. Structural Rust: The Magnet and Screwdriver Test
Austinite steel gates rust. It’s not a question of whether, it’s a question of where. The difference between surface rust that looks bad and structural rust that’s eating the frame comes down to whether the metal is flaking or just discolored, and you can test that in thirty seconds with a magnet and a flat-head screwdriver.
Here’s the test:
- Run a magnet over the rusted area. If the magnet sticks firmly everywhere, the steel is intact. If you find a spot where the magnet pulls weakly or not at all, you’ve found rust that has converted the steel to scale, and that scale has no structural strength.
- Press a flat-head screwdriver into the flakiest spot. If the tip stops on hard metal, that’s surface rust. If it sinks or crumbles into the metal, the section is rotten.
- Pay special attention to the bottom rail and the hinge-side stile. Those are the two places where water pools on a steel gate in our climate, and they’re the places structural rust shows up first.
Cosmetic rust is a weekend project: wire brush, rust converter, a coat of direct-to-metal enamel. Under $100 in materials from any Austin hardware store, and it’ll buy you five more years before the gate needs real repair. Structural rust is a different conversation. Once the bottom rail has rotted through, the gate loses its lateral stiffness, and every open-close cycle flexes the weld joints and the hinge barrels. A gate in that condition either gets welded with reinforcing plate, which works when the rot is localized, or it gets replaced, which is the better answer when the rust runs the full length of the rail. A full steel gate replacement on a standard Austin driveway is roughly $1,800 to $4,000 installed, so catching rust in the cosmetic phase is the single cheapest preventive move in this guide.
This is also where a professional eye saves real money. We’ve quoted Austin gates where the owner saw a little rust and thought they needed a new gate, and the actual fix was a pressure wash, two rust patches, and a full repaint for under $600. The inverse happens too: a thin coat of paint hiding a bottom rail that’s rusted through from the inside. The magnet test gives you the truth in half a minute.
What Uneven Gap Patterns at the Top and Bottom of Your Gate Mean
The gap between your gate and the latch post is one of the most informative visual clues a gate gives you. A healthy gate shows a consistent gap from top to bottom, usually between half an inch and one inch, and it holds that gap across the full swing. An unhealthy gate shows an uneven gap, and the pattern of the unevenness tells you which component is failing.
Here are the four patterns we see most in Austin:
- Wide at top, tight at bottom: The hinge-side post is leaning toward the gate. The gate itself is still square; the post has moved. This is a footing or clay-soil issue, and it’s almost always a re-plumb job.
- Tight at top, wide at bottom: The gate has sagged on its hinges, typically from a worn bottom hinge barrel or a loose hinge plate. The gate frame itself has dropped.
- Tight gap at the latch side, wide at the hinge side: The gate has warped or spread, usually from heat cycling on a steel gate that was welded without a cross brace on the back. You’ll see the same warping as a visible wave in the gate face.
- Gap that changes through the swing: The gate is not swinging on a consistent plane, which points to a bent hinge pin, a displaced hinge plate, or a gate that has twisted slightly on its vertical axis.
Every one of these patterns is an early warning. The gate still opens and closes, which is why most homeowners don’t call. But the gap pattern tells you exactly what’s wearing and roughly how long the gate has been wearing it. A gate with a tight-at-top gap has already been sagging for weeks or months, and every cycle has been working the hinge barrel harder. A competitive gate company in Austin might tell you to watch it and see. We’ll tell you what the gap pattern means, what it costs to correct now versus later, and then let you decide. The written price is free either way. You can reach us at Portcullis Gate Repair Austin home for an Austin service call.
Hinge Wear and Bearing Check: A 10-Minute Sunday Inspection
Once a season, spend ten minutes looking at the parts of your gate that do the mechanical work. It’s the same inspection we do on every service visit in Austin, and it catches about eighty percent of gate failures before they become failures.
Here’s the inspection, step by step:
- Lift test: Grab the gate at the latch side and lift straight up. You should feel no vertical play, or at most an eighth of an inch. Play means the hinge bushings or bearings are worn, and that play is what translates into sag.
- Fastener check: Look at every bolt and lag screw on the hinge plates and the post brackets. If any fastener has a rust halo around it or shows a gap between the plate and the post, it’s already loosening. Tightening a loose fastener is a five-minute job. Replacing a pulled fastener after the plate has wallowed out is a rebuild.
- Grease check: Look for old, dry, or missing grease at the hinge pins and on the operator drive chain or screw. A dry pin wears twice as fast as a greased one. Use a lithium-based grease, not WD-40. WD-40 washes the grease out, and a freshly cleaned but unlubricated hinge will fail faster.
- Operator chain or belt tension: On a slide gate, press down on the chain or belt at mid-span. It should deflect about a quarter inch. More than that and the chain can jump a sprocket tooth, which is the grinding-then-stopping sound we described earlier.
- Safety edge test: On an electric gate, tap the safety edge or photo eye while the gate is moving. The gate should stop and reverse. If it doesn’t, that’s a safety issue and an automatic call for a professional technician.
That last item deserves emphasis. A gate operator that doesn’t reverse when it hits an obstruction is a genuine safety hazard, not a convenience problem. The forces involved in a moving gate can injure a child or pet. This is not a do-it-yourself adjustment, and any reputable gate company in Austin will treat it as a priority repair. We at Portcullis Gate Repair Austin carry the parts for the nine major operator brands we service, and we stock safety edge and photo eye replacements for LiftMaster, FAAC, BFT, and Linear specifically because they’re the most common systems in this area.
When a Gate Is Beyond Repair (and Needs Replacement Instead)
Some gates reach a point where repairing them is just paying rent on a dying system. Knowing when that point arrives saves you from a series of $300 repairs that add up to the price of a new gate without the benefit of one.
The math usually turns at two places. First, when the steel frame has rusted through in more than one spot, the gate’s structural integrity is gone, and patching it is a delaying action. Second, when the operator is more than ten years old and has failed twice in eighteen months, you’re likely to keep feeding that operator parts until the control board goes, and then you’ll have paid half the price of a new operator in repairs. On a standard residential driveway in Austin, a quality operator replacement runs $900 to $2,500 installed depending on the brand and whether you’re adding safety features, keypads, or a battery backup. A full gate and operator replacement on a typical single driveway runs $2,500 to $7,000 on the high end, with custom steel and wood work pushing higher.
The honest answer from our side is that sometimes a repair is still the right call, and we’ll say so. We’d rather fix a serviceable hinge and have you call us back in five years for an unrelated adjustment than sell you a new gate and have you remember us as the company that oversold you. That’s the Kingswell Way, and it’s written into how we operate: say the price before the work, show up in the window we gave, leave the place cleaner than we found it, put the guarantee in writing, and come back if it fails. Every Gate Repair in Austin job we take follows that, and Gate Installation in Austin work follows it too.
Common Mistakes to Avoid
- Ignoring the gap pattern. An uneven gap is the earliest and clearest signal a gate gives you. Waiting until the gate scrapes or binds means the hinge or post has already moved past the cheap repair point.
- Lubricating with WD-40. WD-40 is a solvent, not a lubricant, and it strips the grease from hinge pins. Use a lithium grease on pivots and a dedicated chain lube on drive chains.
- Replacing the operator before fixing the mechanical binding. If the gate grinds and stops, the operator may be protecting itself from a physical problem. Address the hinge, roller, or track issue first or the new operator will fail the same way.
- Patch-painting rust without testing the metal underneath. Paint over structural rust is a cosmetic fix on a structural problem. Do the screwdriver test before you spend a weekend sanding and painting.
- Assuming a handyman can diagnose an electric gate. Gate operators involve control boards, limit logic, and safety circuits. A general handyman can lube hinges and tighten bolts, but operator diagnostics need a technician who works on the specific brand installed on your property.
- Waiting for total failure to call. By the time a gate won’t move at all, the repair is almost always more expensive than it would have been two months earlier. The warning signs in this guide exist precisely to help you call before that point.
See the difference
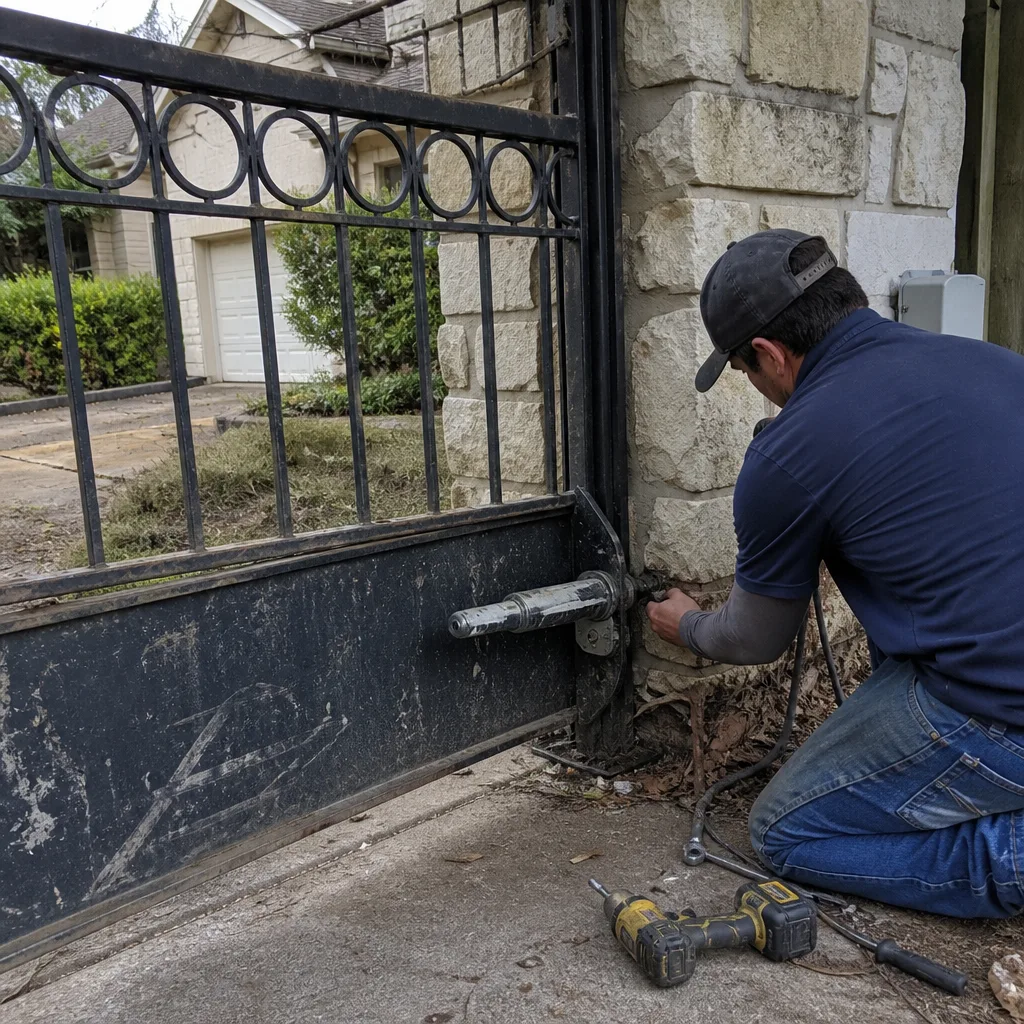 Before
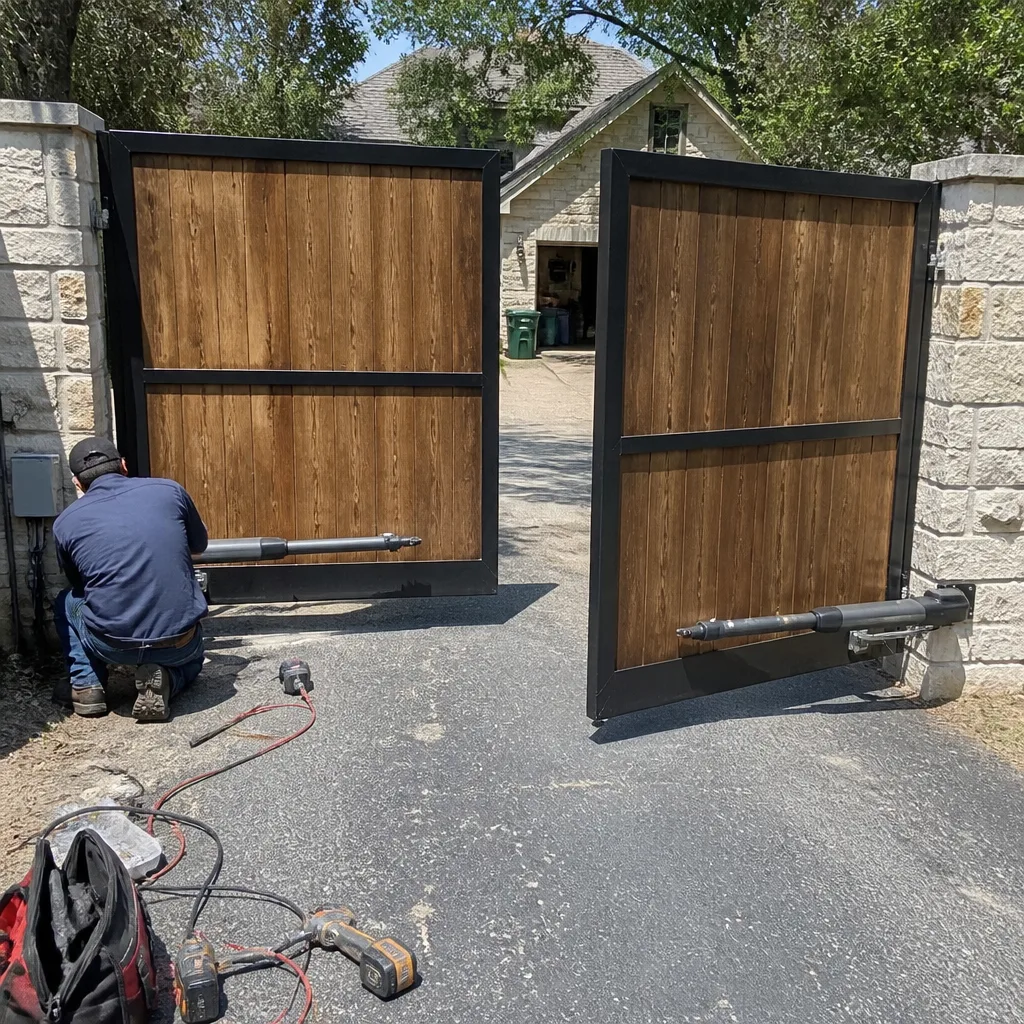 After
After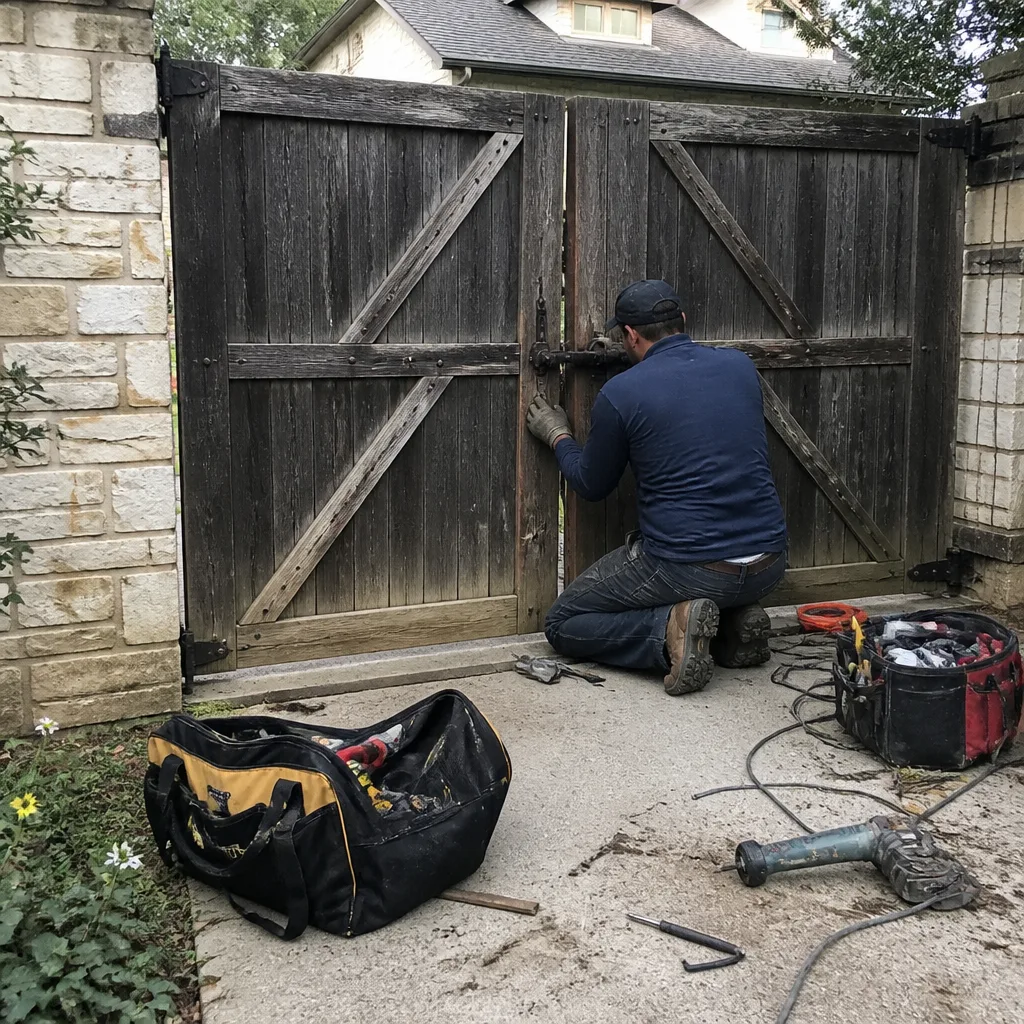 Before
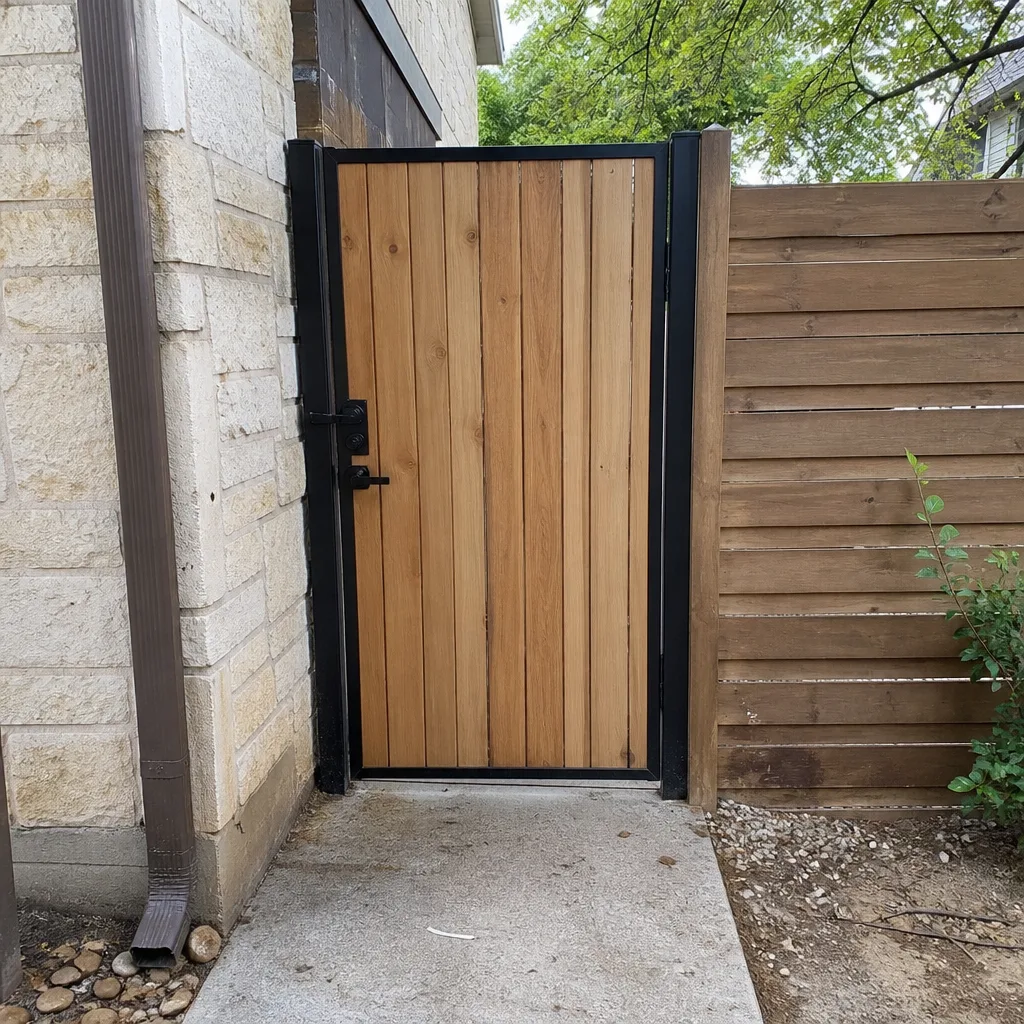 After
After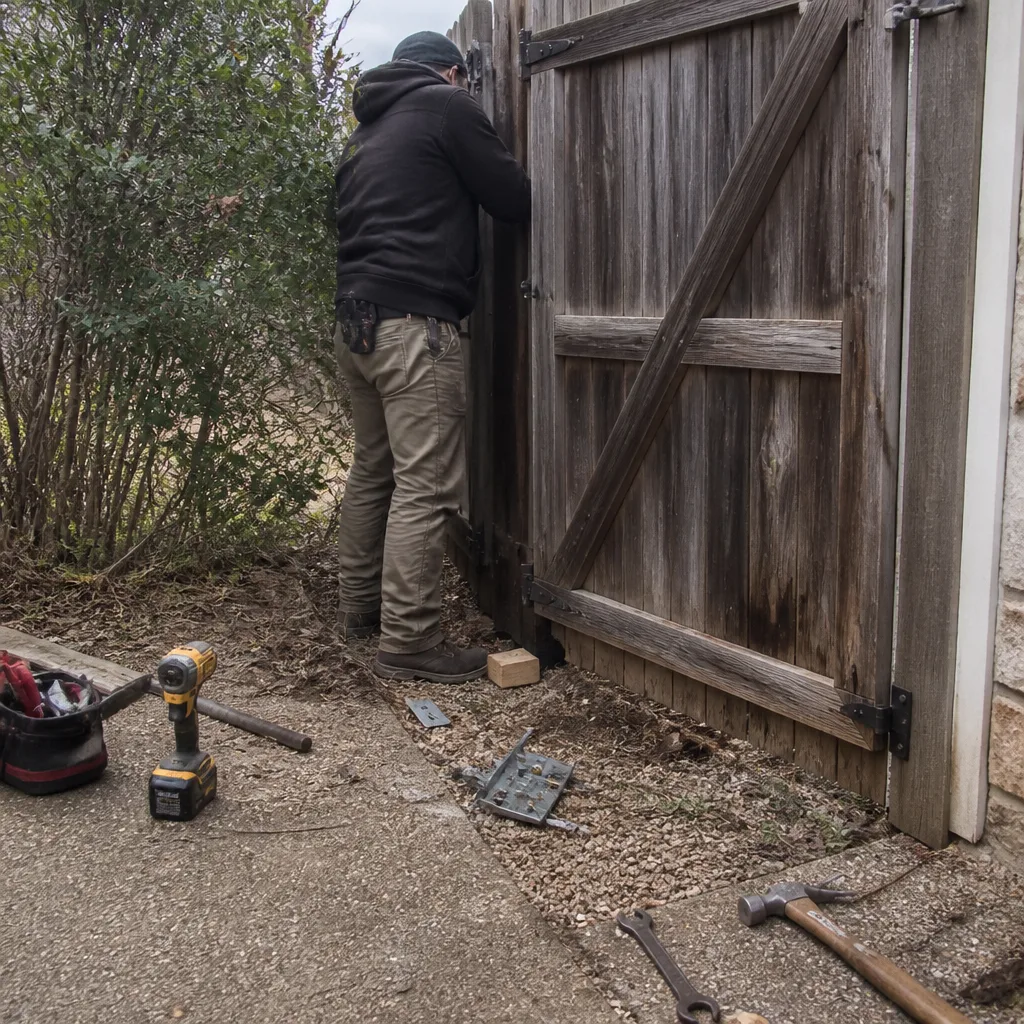 Before
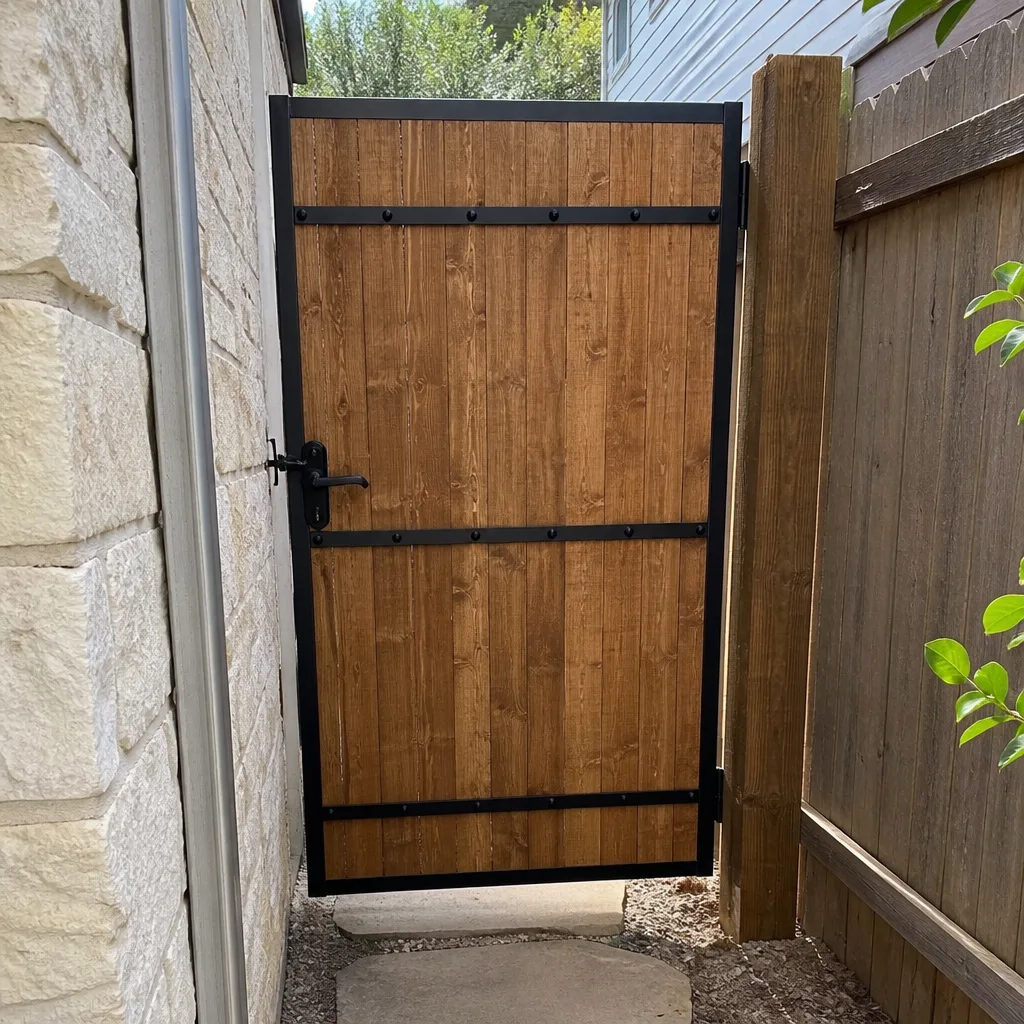 After
AfterWhen to Call a Professional
Call a gate professional when the gate grinds or clicks through its travel, when the gap pattern changes, when the post shows lean on a level, when the gate won’t move automatically despite moving fine by hand, or when the safety edge doesn’t reverse the gate. For help choosing one, see our How to Hire a Gate Repair Contractor in Austin: A Step-by-Step Guide. You should also call before doing any work on a gate operator’s electrical connection, and before attempting to re-plumb a leaning post. The electrical and structural forces involved are not beginner territory. Portcullis Gate Repair Austin offers free estimates anywhere in Austin, including same-week service on most repairs. Call (254) 280-0629 and a live person answers, any hour, any day.
Frequently Asked Questions
Most gate repairs in Austin fall between $150 and $900 depending on the component. A hinge replacement on a standard steel swing gate typically runs $150 to $350. An operator capacitor replacement is $100 to $200. A control board replacement on a mid-range operator runs $350 to $600. A full post re-plumb with new concrete runs $600 to $900. A complete operator replacement runs $900 to $2,500. Every Portcullis Gate Repair Austin quote is in writing before any work starts, so the price you’re quoted is the price you’ll pay. Call (254) 280-0629 for a free estimate.
For most common repairs, yes. We run same-week service scheduling across Austin, and many hinge, limit switch, and operator capacitor issues can be completed the same day the visit is scheduled. We don’t promise a same-day dispatch we can’t honor, which is the Kingswell Way: a real arrival window, given in advance, and kept. For emergency situations where a gate is stuck open and the property is exposed, tell the operator who answers and we’ll find the fastest possible slot.
If a gate swings or slides freely by hand but won’t move automatically, the mechanical structure is almost certainly fine and the problem is in the operator, its control board, a capacitor, or the remote receiver. This is a different diagnostic path than a binding gate, and it usually costs less to repair because the hinges and posts are not involved. The fix is typically $100 to $600 depending on the failed component.
Austin’s expansive clay soil swells when saturated, which shifts post footings and changes the gate’s geometry. A gate that scrapes or binds after rain and frees up after a dry spell is riding that clay movement. The permanent fix is a properly re-set post on a gravel base with good drainage, not repeated hinge adjustments. Seasonal gap changes that match the weather are a specific diagnostic clue we see constantly in this part of Texas.
A quality operator like a LiftMaster, FAAC, BFT, or Linear should last ten to fifteen years in Austin with basic maintenance, though the heat here shortens the life of capacitors and control board components compared to cooler climates. Operators over ten years old that have already needed more than one repair are usually closer to replacement than repair, and we’ll tell you that honestly with a written price for both paths.
Yes. Every operator installation includes the power connection, the limit settings, and the safety edge or photo eye setup, all done by a technician trained on that system. We work on LiftMaster, FAAC, BFT, Linear, Viking, Ghost Controls, DoorKing, Elite, and Mighty Mule systems specifically so that the tech who shows up already knows the system on the property. The installation cost is quoted up front, in writing, and includes the full safety setup.
The Bottom Line
A gate tells you it’s failing long before it actually fails. The gap pattern at the latch side, the sound the hinges make, the lean in the post, the rust you can’t see under the paint, and the way the gate responds to rain are all warnings, and each one maps to a specific repair with a known cost. In Austin’s clay soil and heat, those warnings move fast, and a $150 hinge job becomes a $900 post replacement in months. The correction is simple: inspect your gate once a season, take the warnings seriously, and call a company that quotes the price in writing before the work and guarantees the repair after. You’ll find more guides & resources on our blog to help keep your gate running right. That’s what we do. If your gate is showing any sign in this guide, call Portcullis Gate Repair Austin at (254) 280-0629. We’ll send a technician, give you a written price, and fix it right.
Written by Dean Prescott, Owner at Portcullis Gate Repair Austin, serving Austin since 2008.