
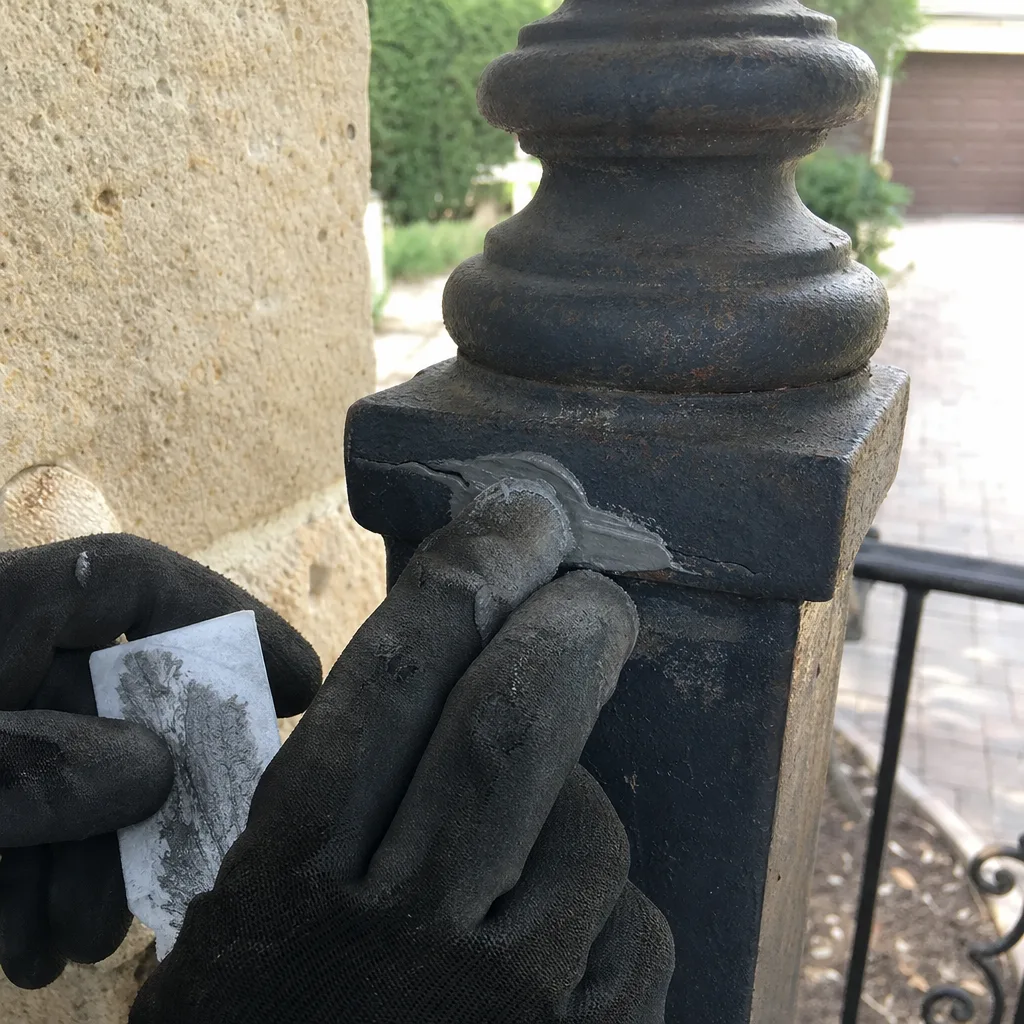
Last updated October 16, 2026
 Wrought iron
 Wood & steel frame
 Farm & ranch
 Sliding driveway gates
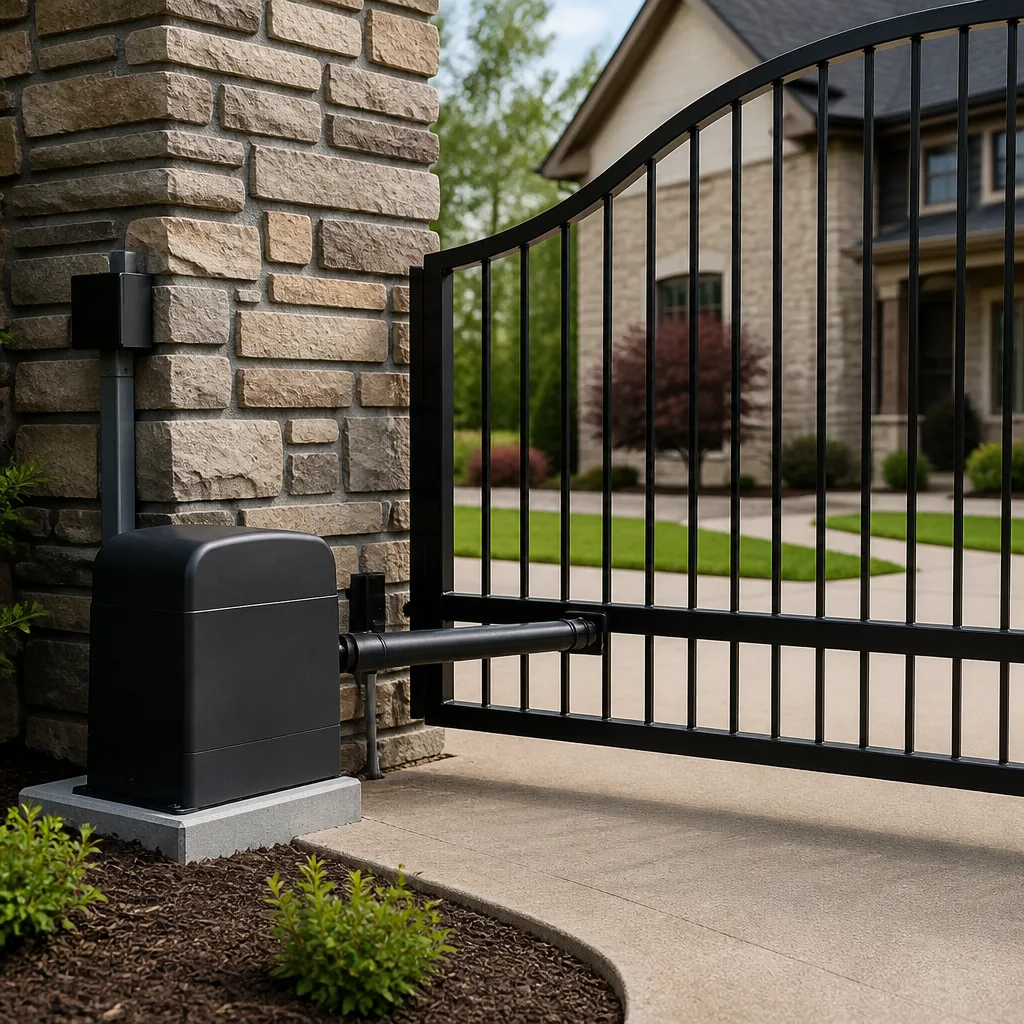 LiftMaster operators
Free on-site gate assessment - hinges, posts, and your LiftMaster or Nice gate operator checked before anything is quoted
The assessment is free and the quote is the invoice.
Get your free estimateDIY vs Professional Gate Repair: The Austin Homeowner’s Decision Guide
Here’s a counterintuitive fact most Austin homeowners never consider: a driveway gate that swings shut on a moving vehicle isn’t just a repair problem. It’s a premises liability event. If that gate was “fixed” with a DIY hinge adjustment and no paperwork, your homeowner’s insurer now has a documentation gap, and the opposing attorney has an opening. This guide draws the line between the three repairs you can safely own yourself, the four that create real risk, and how to document everything in between so you’re protected either way. For more on keeping your gate in top shape year-round, see our dedicated checklist.
Quick Answer
Most Austin homeowners can safely handle three gate repairs themselves: lubricating hinges, adjusting a photo-eye sensor, and tightening a loose latch bolt. Everything else, especially post replacement, weld repair, operator spring work, and 120V electrical wiring, should go to a licensed pro because the injury risk and liability exposure outweigh any savings. A professional repair through a Kingswell company like Portcullis Gate Repair Austin also puts the guarantee in writing for 365 days, something no DIY job can do.
Styles & brands we work with
Table of Contents
- When DIY Gate Repair Is Actually Worth It
- The 3 Repairs That Are Genuinely Homeowner-Safe
- The 4 Repairs That Create Real Risk
- How to Document Any DIY Repair You Complete
- The Honest Math: When DIY Saves Money and When It Doesn’t
- What a Written Guarantee Provides That DIY Never Can
- Austin-Specific Factors That Change the Equation
- Common Mistakes to Avoid
- When to Call a Professional
- Frequently Asked Questions
When DIY Gate Repair Is Actually Worth It
There’s a real case for DIY gate work in Austin, and we’re not going to pretend otherwise. The key word is maintenance, not repair. Maintenance keeps a functioning gate functioning. Repair restores a gate that has stopped doing its job. The difference matters because maintenance is low-risk, low-skill, and doesn’t touch the structural or electrical systems that make a gate dangerous when they fail.
Austin’s climate makes basic maintenance more necessary than in drier parts of Texas. We get humidity, oak pollen, cedar season, and enough rain to accelerate rust on exposed steel. Hinges that would glide quietly in El Paso start creaking in Tarrytown and Circle C within a year or two. A homeowner who commits to quarterly hinge lubrication and a quick visual inspection can add real years to a gate’s service life before a technician ever needs to look at it.
But here’s the line we draw clearly: once the problem involves the gate’s structure, the operator motor, the springs, or the electrical supply, DIY crosses from “reasonable maintenance” into “uninsured risk.” The rest of this guide tells you exactly where that line sits and why.
The 3 Repairs That Are Genuinely Homeowner-Safe
After 17 years of gate work in the Austin market, our position as a company is this: there are three repairs we’ll happily walk a homeowner through over the phone, because they carry minimal injury risk and almost no liability exposure. These are the jobs you can own.
1. Lubricating Hinges and Rollers
A squealing gate is usually just dry metal on metal. The fix is simple and safe:
- Open the gate fully so the hinges are exposed and the gate can’t move on you.
- Clean the hinge pin with a rag to remove grit and old grease.
- Apply a silicone-based lubricant (not WD-40, which is a solvent, not a long-term lubricant) to the hinge pin and pivot points.
- Work the gate open and closed three or four times to distribute the lubricant.
- Wipe away excess so it doesn’t collect Austin dust and gum up later.
Do this twice a year, ideally before summer and after cedar season. The whole job takes 20 minutes and costs under $15 in materials.
2. Adjusting a Photo-Eye Sensor
Photo-eyes, or photoelectric sensors, are the small paired devices mounted low on either side of the gate opening. They project an invisible beam, and when that beam is broken, the gate stops or reverses. If your gate won’t close, the photo-eye is the first suspect.
- Check for obvious obstructions: leaves, grass clippings, spider webs, a basketball that rolled into the beam path.
- Look at the alignment: both sensors should point directly at each other. Austin’s expansive clay soil shifts with moisture, and a sensor bracket can tilt slightly out of alignment without any visible damage.
- Gently nudge the sensor bracket back toward center. Most brackets are designed to flex slightly without tools.
- Check the small indicator light on each sensor. A solid green or red light (varies by brand; FAAC and BFT sensors differ) means it’s powered and aligned. A blinking light usually means misalignment or obstruction.
- Test the gate with the remote. If it now closes normally, you’re done.
This is a 10-minute fix that costs nothing, and it’s the single most common “gate won’t close” cause we see in Round Rock and Pflugerville especially, where wind blows debris against sensor faces.
3. Tightening a Loose Latch Bolt
If your gate sags slightly and the latch doesn’t catch cleanly, the latch bolt itself may just be loose. Use a standard wrench or socket set to snug the bolts that mount the latch to the gate frame. Don’t overtighten; you’re not trying to deform the metal, just remove the play. Test the latch a few times, and if it still doesn’t catch, the problem is probably gate sag, not the latch, which means you’re now in the “call a pro” category because sag usually traces back to a failing hinge or a shifting post.
The 4 Repairs That Create Real Risk
This is the section where DIY goes from money-saving to potentially catastrophic. These four repairs involve heavy loads, stored energy, or line voltage. They are not skill-level questions, they’re risk-exposure questions.
1. Post Replacement
A gate post is the vertical steel member set in concrete. It carries the full weight of the gate, plus the dynamic force every time the gate opens and closes. When a post rusts through at the base, wobbles in its footing, or leans, the repair means digging out the old concrete, setting a new post, pouring a fresh footing, and re-hanging the gate so it’s level and true. In Austin’s clay soil, which expands when wet and contracts when dry, a properly-sized footing is not optional. An undersized footing set by a homeowner shifts within a season, and a shifting gate post means a gate that can bind, drop, or fall. If that gate falls on someone, the post installation is what a premises liability attorney will look at first.
2. Weld Repair
Gate frames are steel, usually welded at the corners. When a weld cracks, the frame loses its rigidity, and the gate starts to flex and sag. Welding is not a weekend hobby repair. A bad weld looks fine from the outside and fails under load, and on a swinging gate, the load is measured in hundreds of pounds moving through an arc. Welding also requires proper PPE, a clean surface, the right filler material, and a skill set that takes years to build. This is a non-negotiable professional job.
3. Operator Spring Replacement
Swing-gate operators on brands like Linear and Viking use heavy torsion springs to assist the motor. These springs are under constant tension, and they store enough energy to break bones or take off fingers if released incorrectly. There is no safe way to release a torsion spring without the proper winding bars and a clear understanding of the load direction, and there’s no “undo” button if you get it wrong. We classify operator spring work alongside garage-door spring work: a trained professional’s job, every time.
4. Electrical Wiring on a 120V Operator
A residential gate operator runs on 120-volt line power. That’s the same voltage as your kitchen outlets, and it can kill. The work involves a dedicated circuit, a disconnect switch, waterproof conduit, and proper grounding, all of which are covered by the National Electrical Code and local Austin permitting requirements. If you’re not an electrician, you should not be opening an operator’s electrical compartment. Beyond the shock risk, a miswired operator can short out the control board, which turns a $150 repair call into a $600 board replacement.
How to Document Any DIY Repair You Complete
Here’s a truth most Austin homeowners never hear: the biggest problem with DIY gate repair isn’t the repair itself, it’s the missing paper trail. Insurance companies, warranty providers, and future home buyers all operate on documentation. A DIY repair with no record is indistinguishable from no repair at all.
If you’ve done one of the three homeowner-safe repairs above, or even maintenance beyond that, a simple paper trail protects you in three situations: if the gate fails later and you’re filing a homeowner’s insurance claim, if you’re selling the home and the buyer asks about gate history, or if a broader repair is needed and the technician needs to know what was already tried.
- Take before and after photos. Use your phone. Show the hinge, sensor, or latch from the same angle before and after. The metadata timestamp is your proof of when the work happened.
- Save the receipt for any part or lubricant you buy. A $12 silicone lubricant from the Mueller neighborhood hardware store is your evidence that the maintenance actually occurred.
- Write down the date and what you did. A note in your phone is enough. “March 14, 2026: lubed both hinges with silicone, tightened latch bolts on swing gate.” This takes 30 seconds.
- Keep the documentation with your home records. Same file as your HVAC service records and roof receipts. When a gate technician visits later, show them what was done. It saves diagnostic time.
This paper trail is exactly what we mean when we talk about liability protection. It’s not about being a mechanic, it’s about being a responsible property owner.
The Honest Math: When DIY Saves Money and When It Doesn’t
Let’s be direct about the dollars, because that’s what this decision comes down to for most Austin families.
Where DIY clearly wins: Lubricating hinges costs about $12 and 20 minutes. Adjusting a photo-eye costs nothing. Tightening a latch bolt costs nothing if you own a wrench set. Annual maintenance on a typical single swing gate, done yourself, runs under $50 a year in materials. A professional maintenance visit in Austin typically runs $89 to $140, depending on the gate’s condition and size. So over five years, the maintenance-savvy homeowner saves perhaps $400 to $600. That’s real money.
Where DIY gets expensive fast: The problem comes when a homeowner attempts a repair beyond maintenance and makes things worse. Here’s the math we see regularly:
- A homeowner attempts to “adjust” a sagging gate by tightening hinges, strips a hinge bolt, and the gate drops onto the operator arm, bending it. The professional now has to remove a stripped bolt, source a replacement hinge, and replace a bent actuator arm. Total: $450 to $800, versus about $200 to $350 if the sag had been addressed correctly the first time.
- A homeowner tries to “fix” an intermittent operator by opening the control board compartment, shorts the board with a wayward screwdriver, and the operator won’t run at all. Board replacement on a FAAC or BFT operator runs $250 to $500 parts and labor, versus a $120 to $180 diagnostic and minor repair if the original problem had been addressed by a tech.
- A homeowner attempts a post “repair” by adding concrete around a wobbling post. The concrete doesn’t bond to the old footing, the post continues to shift, and the eventual professional repair now includes chipping out the homeowner’s added concrete before the real work can begin. Extra cost: $150 to $300 in labor.
The honest answer is that DIY saves money on the three safe maintenance items and loses money on everything else, not because homeowners are incompetent, but because gate systems are interconnected. A small mistake in one area cascades into a larger failure in another, and the professional then has to undo the homeowner’s work before doing the real repair.
What a Written Guarantee Provides That DIY Never Can
Here’s the quiet power of professional repair through a Kingswell company: the guarantee is not a verbal promise. It’s a written document, stamped on the invoice, with a specific duration and a specific remedy.
The Kingswell Guarantee, which Portcullis Gate Repair Austin operates under as an Austin home service company, has four parts. First, the price is written before any work starts. You sign off on the number while the gate is still intact, not after the technician has disassembled it and the leverage shifts. Second, we give you a real arrival window, not a four-hour “sometime between noon and whenever.” Third, the job site is left cleaner than we found it. And fourth, the repair itself carries the 365-Day Done Right Promise: if that repair fails within 365 days, we come back and fix it at no charge.
A DIY repair has none of this. If your DIY hinge lubrication doesn’t solve the squeal, you’re back to square one with no recourse. If your DIY photo-eye adjustment doesn’t fix the safety-stop issue and the gate later grazes a car, the absence of professional documentation is now part of the insurance claim. The written guarantee exists precisely because gates move, wear, and fail. It’s a transfer of risk from the homeowner to a named company that is legally on the hook for a year. When a Portcullis technician signs that invoice, the company’s reputation and insurance ride on that repair succeeding.
Every Portcullis location is independently owned and operated, but held to the identical Kingswell standard. That’s not a franchise marketing line. It’s a written contract that follows every single job. If the repair fails on day 200, we return. Day 360, we return. No pro-rating, no fine print, no “wear and tear” dismissal.
Austin-Specific Factors That Change the Equation
Austin isn’t a generic market for gate repair. The same gate in Phoenix or Atlanta behaves differently here, and that changes the DIY calculus in a few specific ways worth spelling out.
Expansive clay soil. Much of Austin sits on the Blackland Prairie, an expansive clay that swells when saturated and shrinks when dry. This is the soil that causes foundations to heave and fence posts to lean. It also works on gate posts. A gate that was perfectly plumb in March can be binding by August, not because anything on the gate changed but because the soil moved under the post. This is why we always recommend concrete footings that extend below the active soil zone, and it’s why a “wobbling post” fix is never as simple as it looks. The DIY homeowner can’t compact a new footing the way a professional installation can.
Heat and UV exposure. Austin gets over 100 degrees routinely from June through September, with intense direct sun. Plastic components, operator housing, and especially photo-eye lenses degrade faster here than in cooler climates. A homeowner who inspects sensors regularly will catch UV-clouded lenses before they become a safety issue. That’s a point in favor of DIY maintenance.
Oak wilt and tree work. Many Austin gates are positioned near live oaks. Tree roots can grow into gate footings over a decade, and falling branches are a regular source of photo-eye misalignment and physical gate damage. A homeowner who keeps an eye on tree intrusion is doing genuine preventative work.
Permitting. The City of Austin requires permits for certain gate installations, particularly those involving new electrical runs or setbacks from the street. A professional gate company handles this as part of the gate installation in Austin process. A DIY installer may not know the permit is required until a code enforcement letter arrives. For gate repair, permits are rarely required unless the work involves structural changes to the post or new electrical service, but it’s worth confirming before starting any project that touches the foundation or the electrical panel.
Common Mistakes to Avoid
- Using WD-40 as a long-term hinge lubricant. WD-40 is a water displacer and solvent, not a lasting lubricant. It washes out the existing grease and dries up within weeks. Use a silicone or lithium-based lubricant for gate hinges.
- Ignoring a gate that’s slightly out of plumb. A gate that leans one degree today will lean five degrees next year in Austin clay. Address post movement early, before the gate’s weight compounds the problem and the repair goes from a hundred-dollar fix to a post replacement.
- Attempting to adjust operator force limits without reading the manual. Force settings control how hard the gate pushes before reversing. Set too high, the gate becomes an injury hazard. Set too low, it won’t close against Austin’s spring winds. This is a calibrated adjustment, not a “make it work” knob.
- Replacing a gate opener with a mismatched unit. A Viking operator and a Linear operator have different torque ratings, duty cycles, and mounting patterns. Buying the cheapest opener on the shelf and bolting it to a gate that’s too heavy for it means a burned-out motor within a year.
- Overlooking the safety edge or reversing sensor. Modern gate operators are required to have entrapment protection. If your gate doesn’t stop when it meets resistance, the problem isn’t cosmetic, it’s a life-safety issue that deserves professional attention immediately.
- Documenting nothing. You did the maintenance, but you can’t prove it. The 30 seconds it takes to snap a photo and save a receipt is the difference between a clean insurance conversation and a complicated one.
When to Call a Professional
Call a professional when the gate leans, binds, or sags; when the operator makes unusual noise or stops mid-cycle; when the gate doesn’t reverse on contact; when any electrical component is involved; when a weld is cracked; or when the post shifts. These are not judgment calls, they’re structural and safety failures. We also suggest a professional inspection if you’ve just purchased a home with an existing gate and have no service history. A one-time diagnostic visit in Austin typically runs $75 to $120, and it gives you a written baseline for the gate’s condition. Portcullis Gate Repair Austin offers free estimates for gate repair in Austin and the surrounding areas. Call (254) 280-0629 and a live person will answer, 24 hours a day, seven days a week, including holidays.
Frequently Asked Questions
Most gate repairs in Austin run $150 to $500 for common issues like hinge replacement, sensor alignment, or operator troubleshooting, while post replacement or weld repair typically runs $600 to $1,800 depending on the gate’s size and the extent of the damage. The price is always written before any work starts with a Kingswell company, so there are no surprises after the technician opens the gate up. Call (254) 280-0629 for a free estimate.
You can check the basics, photo-eye alignment, power supply, and remote batteries, but internal operator repair on brands like FAAC, BFT, Linear, or Viking should be left to a professional because the units contain high-tension springs and 120V electrical components that can cause serious injury. A professional carries the specific diagnostic tools and brand training for these nine major operator lines.
A professional gate repair on a properly maintained gate should last years, and through Portcullis Gate Repair Austin, it’s backed by the 365-Day Done Right Promise, so if it fails within a year, we return at no charge. The lifespan of a DIY repair depends entirely on whether the underlying cause was actually addressed, which is often the missing piece.
Expansive clay soil is the number one Austin-specific cause of gate problems, because it shifts with moisture and moves gate posts out of alignment, which then cascades into hinge wear, operator strain, and latch misalignment. Add Austin’s summer heat and UV exposure degrading plastic components faster, and you have a climate that demands more attentive maintenance than most regions.
Most gate repairs in Austin do not require a permit, but structural post replacement or new electrical wiring for an operator can trigger permitting requirements depending on your property’s location and the scope of the work. A professional gate company can tell you definitively whether your specific repair needs one before the work begins.
Look for a company that writes the price before any work starts, carries insurance, and puts the guarantee in writing with a specific duration, like the Kingswell 365-Day Done Right Promise, rather than a verbal “trust me.” Background-checked technicians who arrive in uniform and a live person answering the phone at 8pm on a Sunday are also strong signals that the company takes accountability seriously.
The Bottom Line
The DIY-versus-professional gate repair question in Austin isn’t really about how handy you are. It’s about liability, documentation, and the gap between maintenance and repair. You can lubricate hinges, adjust photo-eyes, and tighten latch bolts safely and wisely. You cannot safely replace posts, weld frames, release operator springs, or touch 120V wiring. And on the repairs you do own, document everything, because a paper trail is what separates a responsible homeowner from a liability exposure. When the job goes beyond maintenance, a written guarantee from a company like Portcullis Gate Repair Austin is the only thing that transfers the risk off your shoulders and onto paper, for a full year, at no extra charge. For more guides & resources on protecting your home and budget, explore our blog.
For electric gate repair in Austin, whether it’s a FAAC operator on a swing gate in Allandale or a Viking system on a slide gate in Sunset Valley, we’re the team to call. Portcullis Gate Repair Austin serves the entire Austin metro with written pricing, real arrival windows, and the 365-Day Done Right Promise on every repair.
Written by Dean Prescott, Owner at Portcullis Gate Repair Austin, serving Austin since 2008.
See the difference
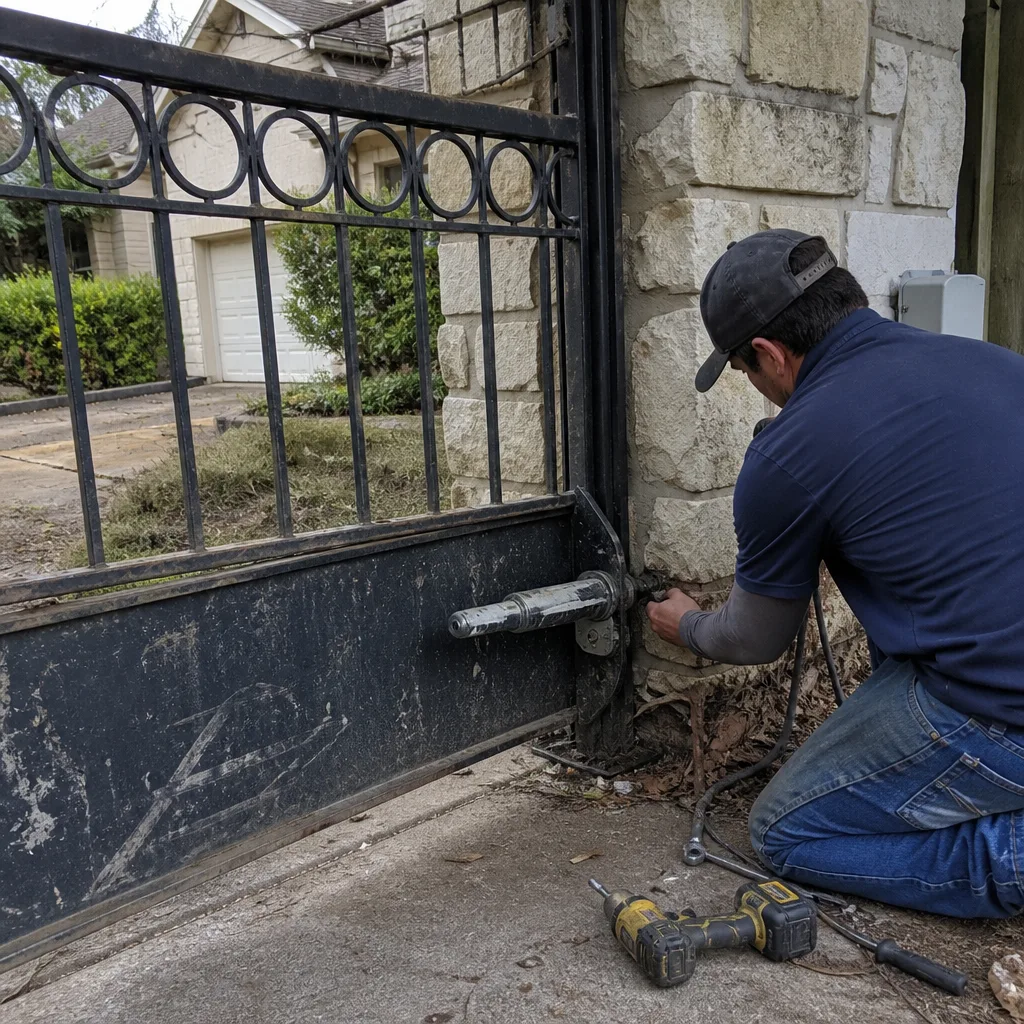 Before
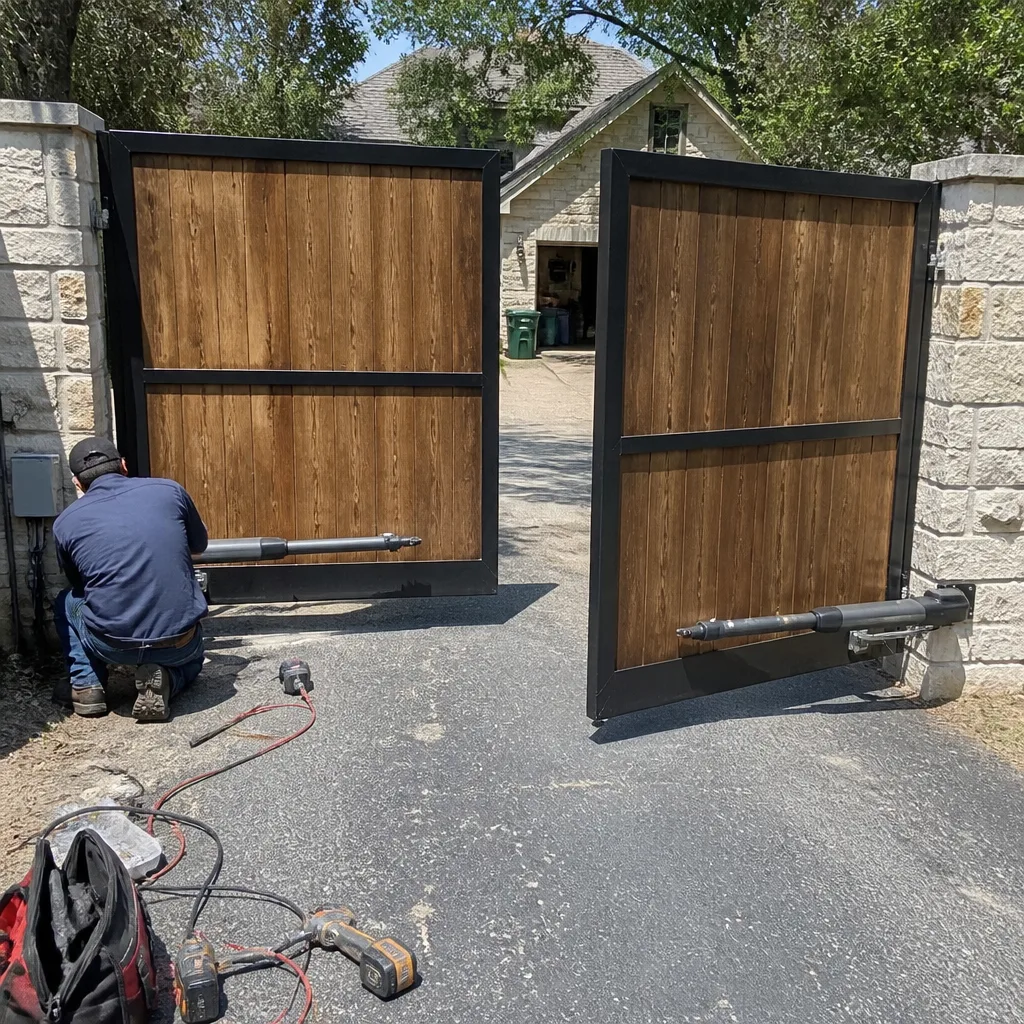 After
After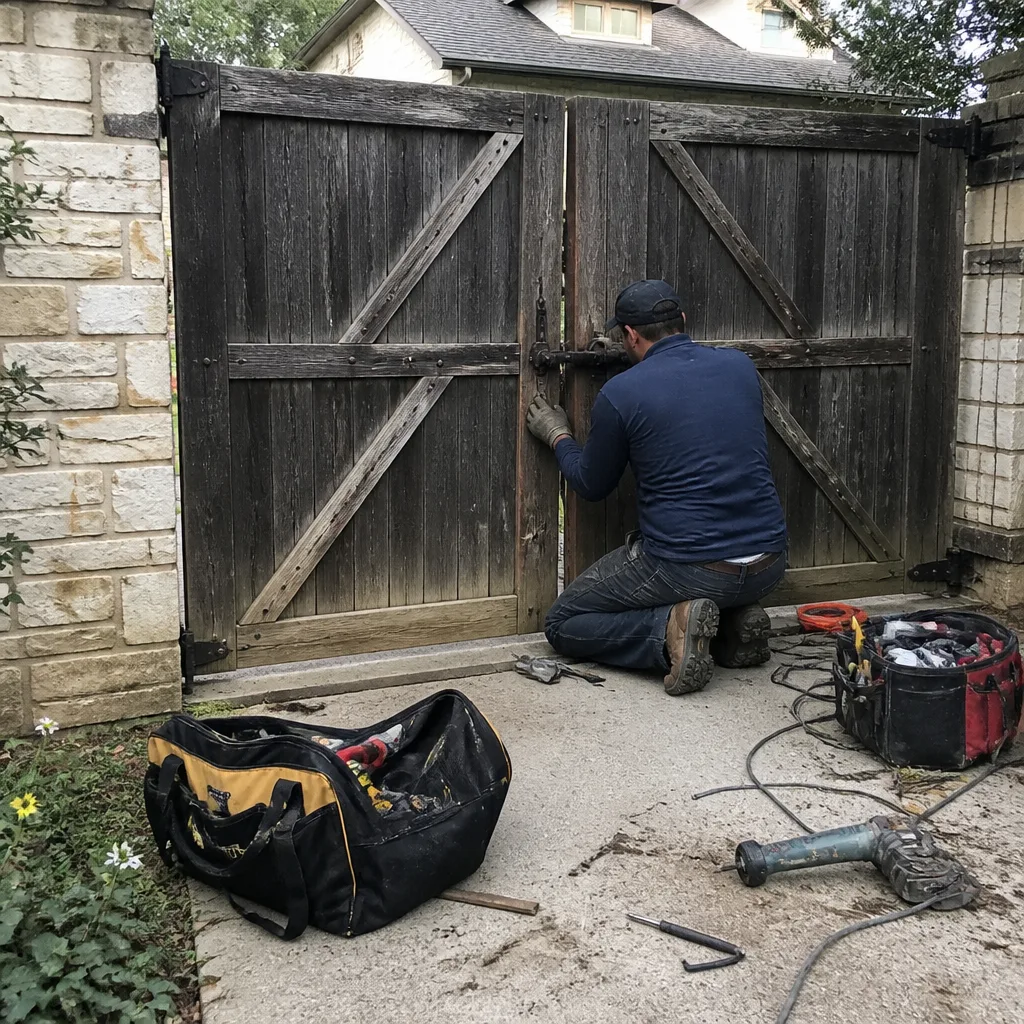 Before
 After
After Before
 After
After